

Creating a Webex Integration
To connect Webex with StackOne, you need to create an OAuth integration on the Webex for Developers portal to obtain your Client ID and Client Secret.
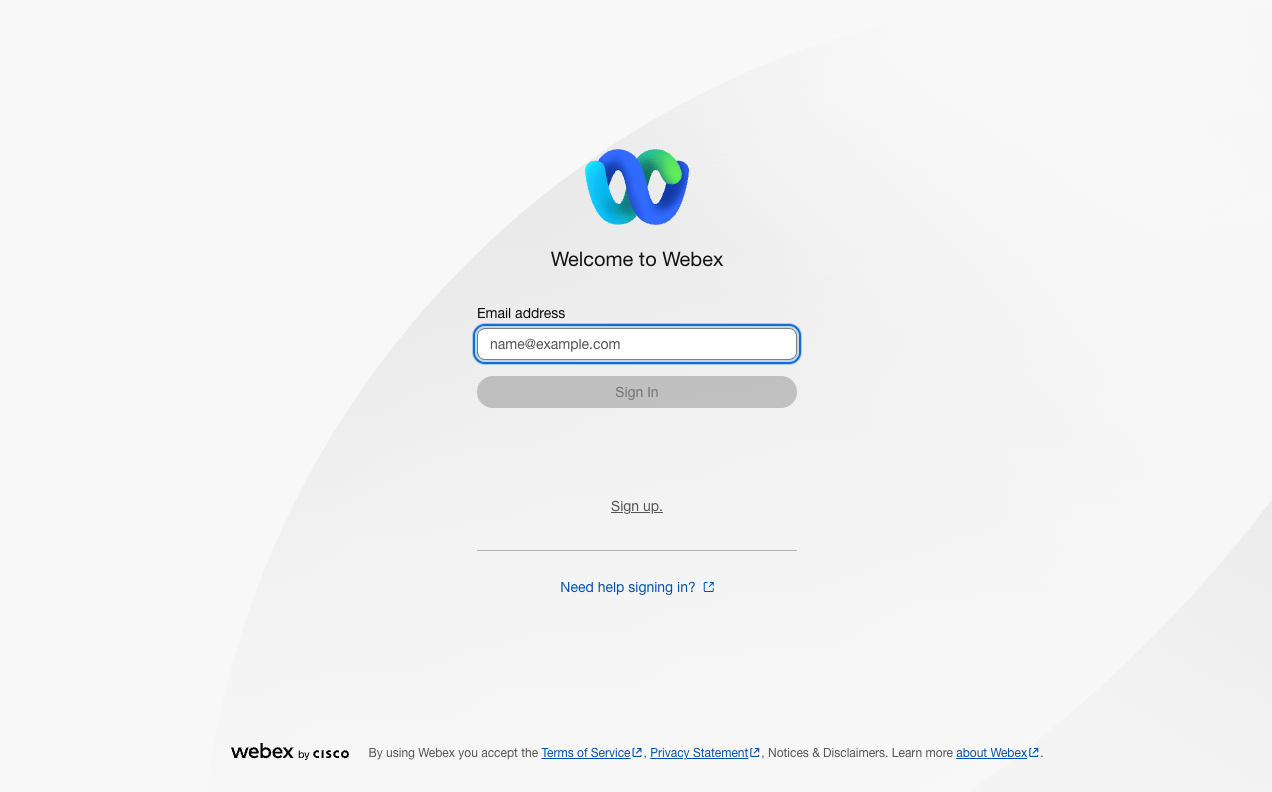
Sign in to Webex for Developers
Go to Webex for Developers and sign in with your Webex credentials. The site header and page title read Webex for Developers.
Navigate to My Webex Apps
Go to developer.webex.com/my-apps. You can also reach it from the header - click your profile icon in the top-right corner to open the menu, then select My Webex Apps.
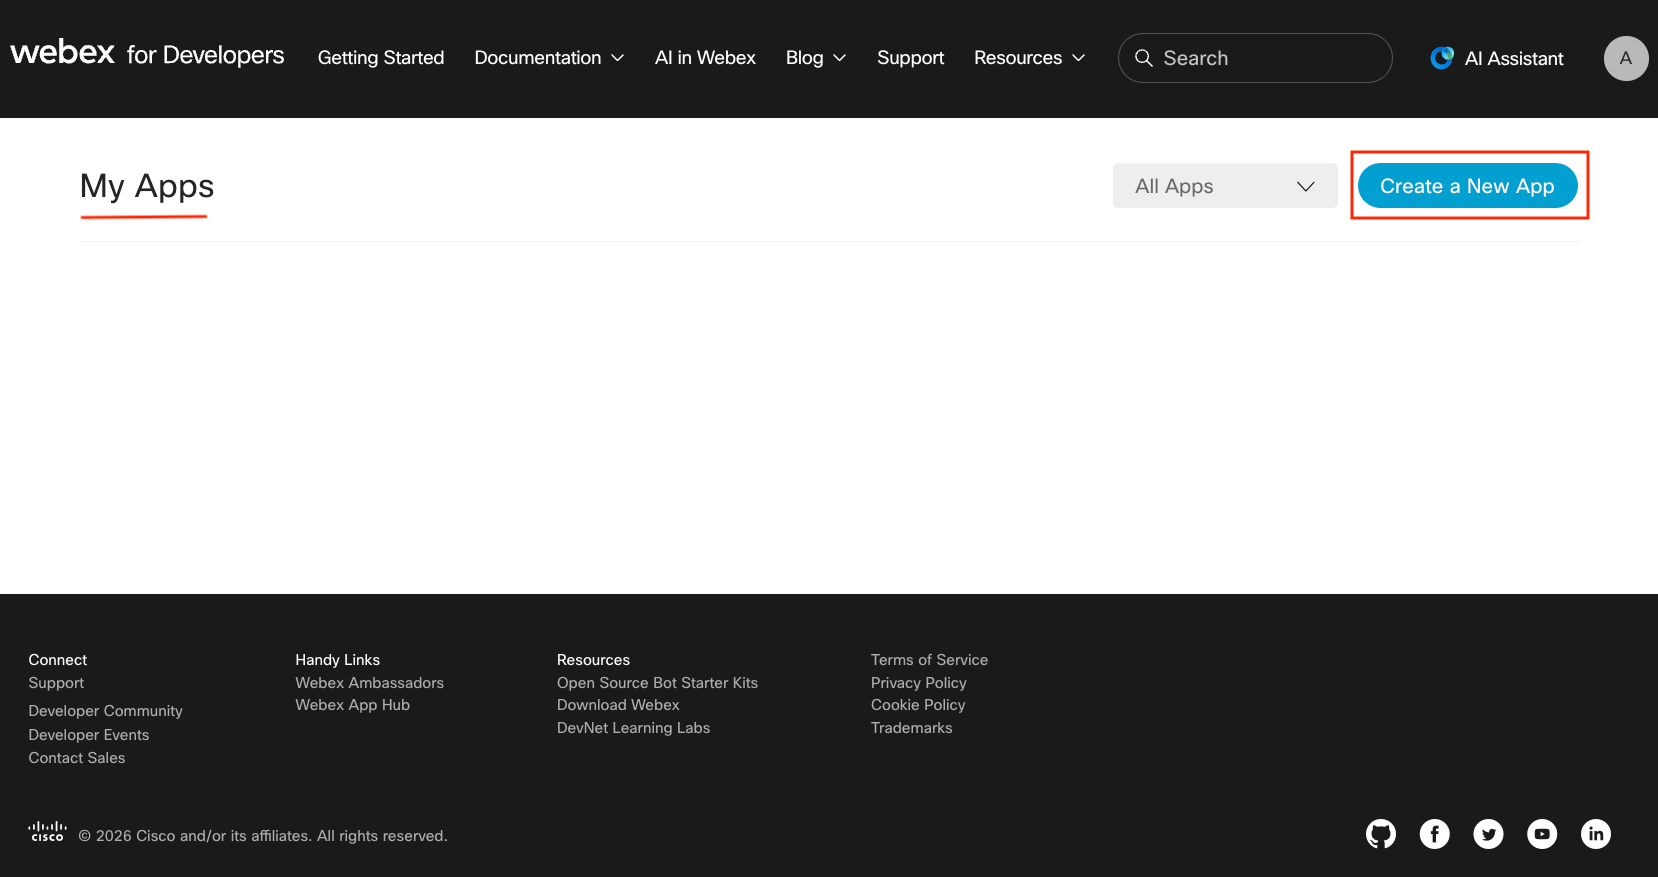
Create a new integration
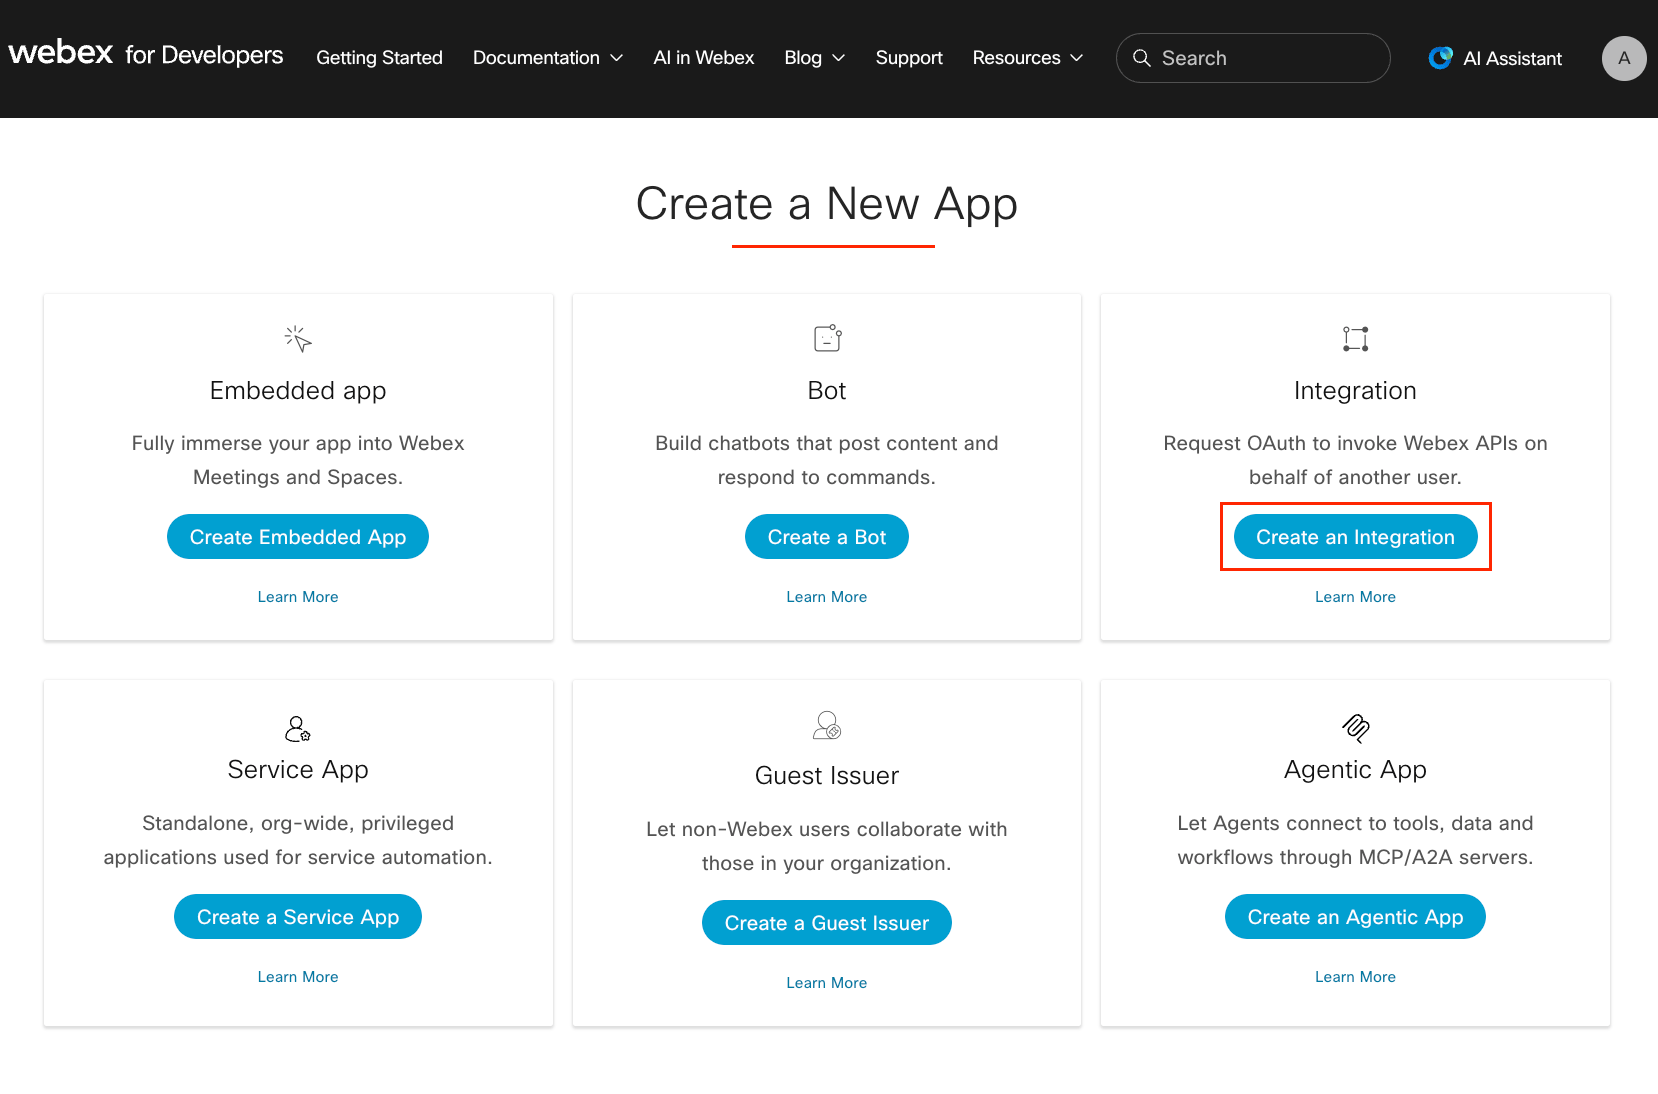
Click Create a New App, then select Create an Integration.
Configure the integration details
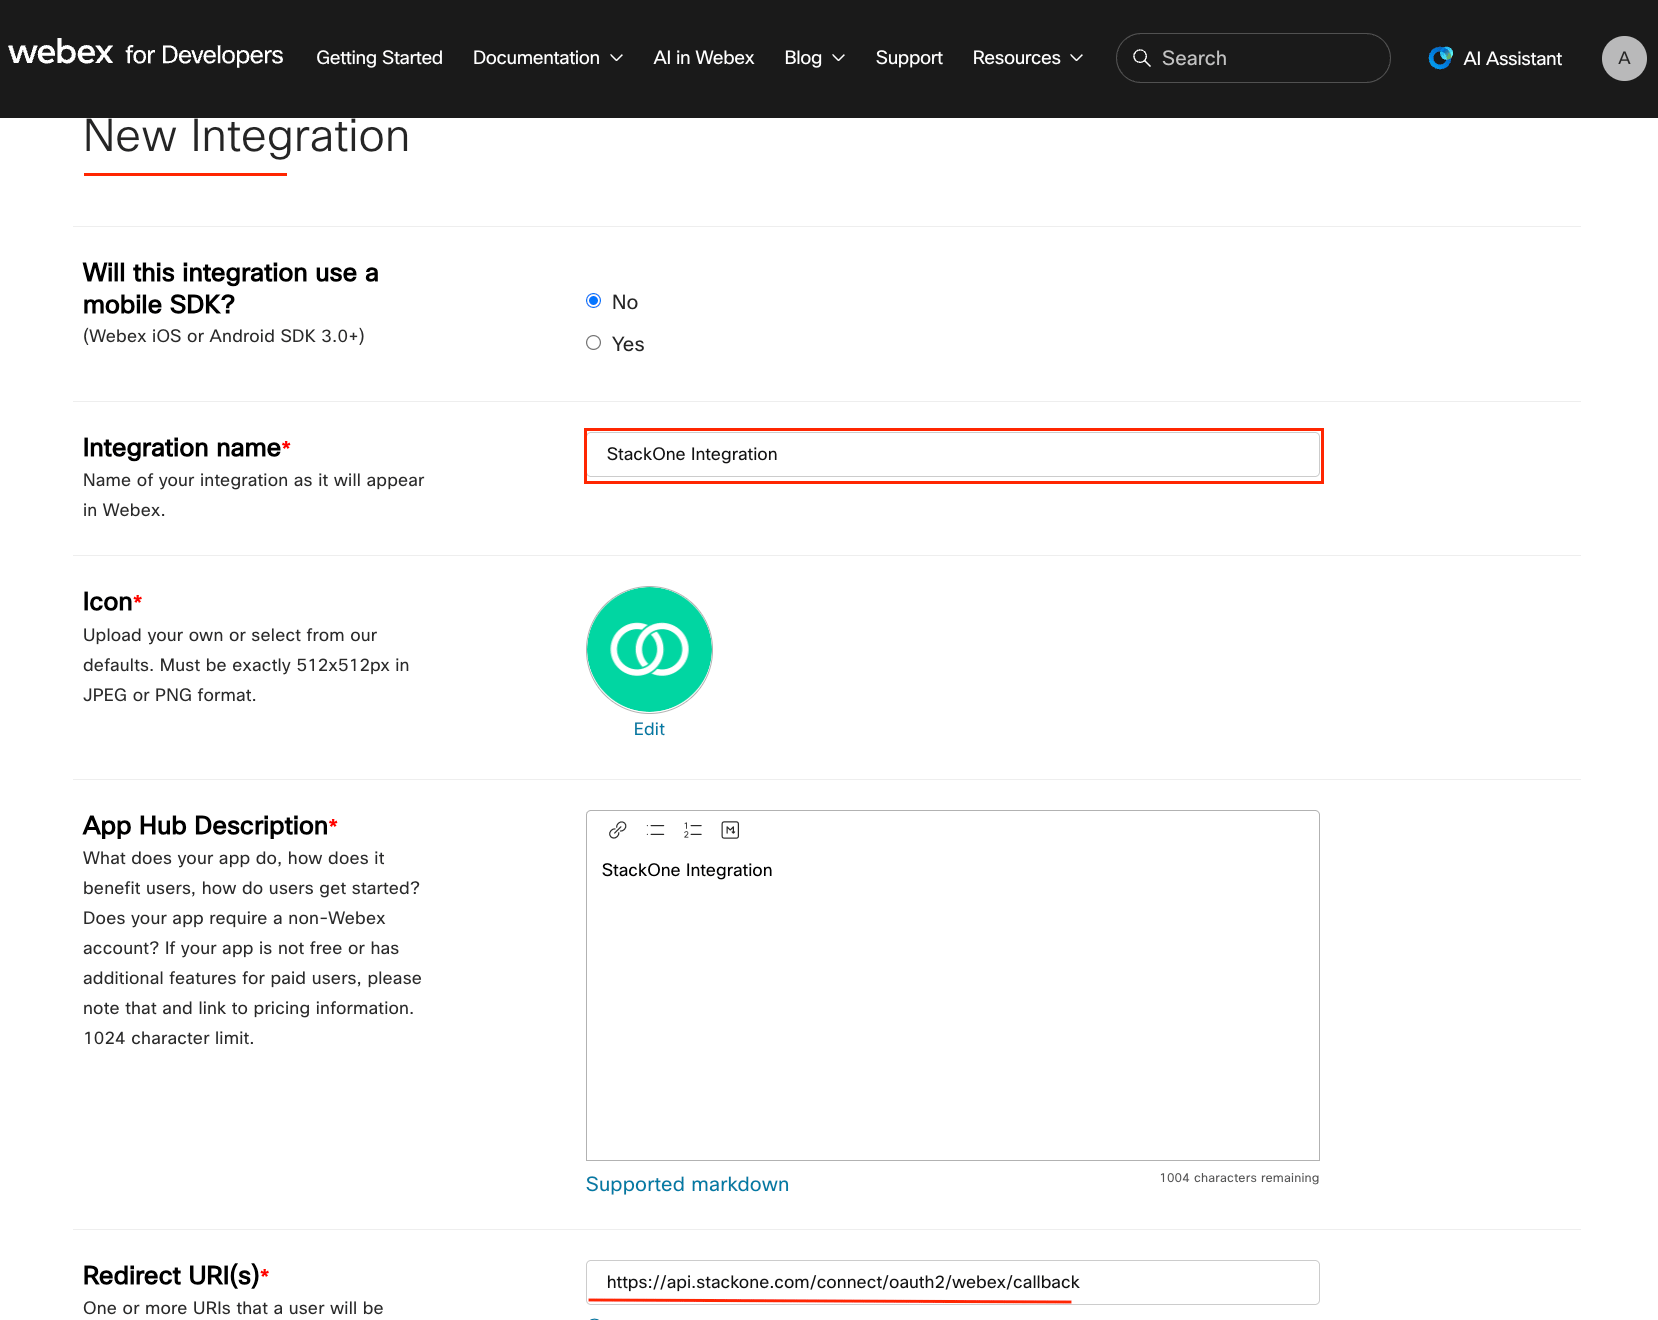
Complete the required fields for your integration.
- Integration Name: StackOne Integration (or a name of your choice)
- Icon: Upload a custom icon or choose one of the defaults
- App Hub Description: Provide a brief description of your integration’s purpose
- Redirect URI(s):
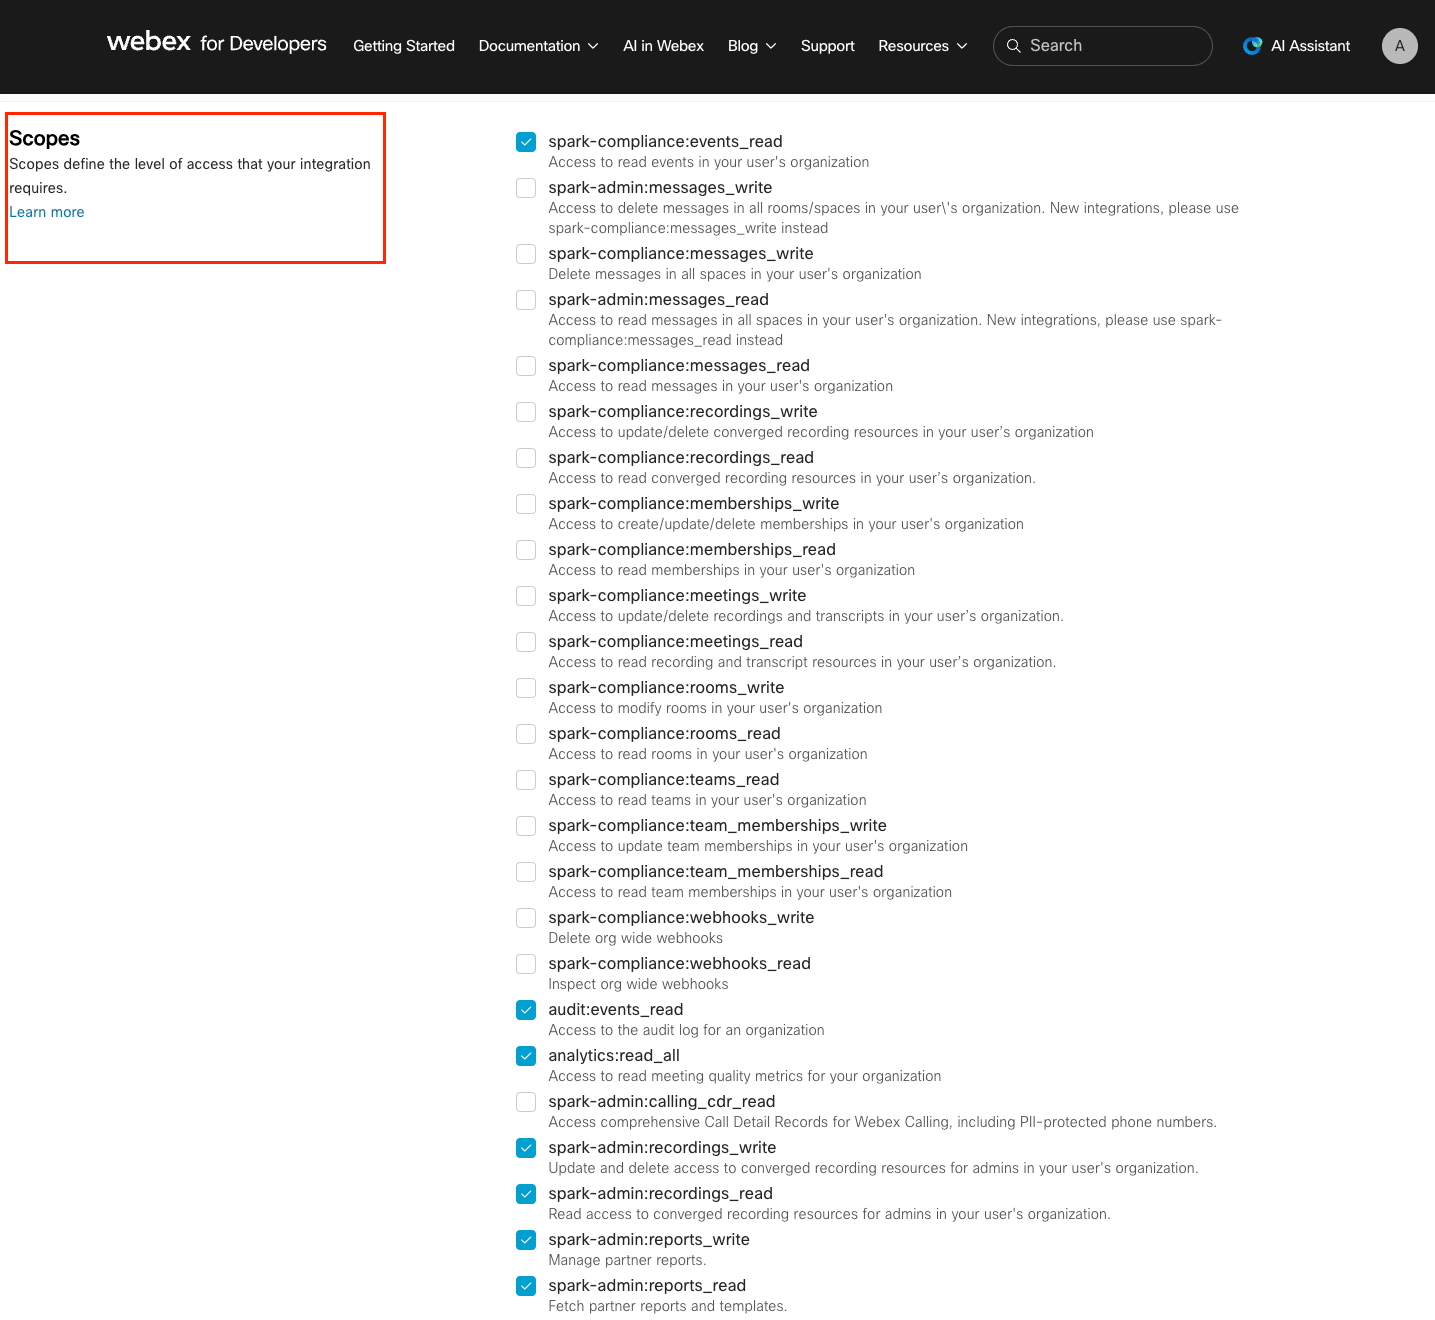
https://api.stackone.com/connect/oauth2/webex/callback - Scopes: Select the scopes your integration requires (refer to the Select OAuth Scopes step below)
Select OAuth scopes
Select the scopes your integration requires. The following scopes provide full connector functionality.
- User-level scopes (17): spark:people_read, spark:teams_write, spark:teams_read, spark:team_memberships_write, spark:team_memberships_read, spark:rooms_write, spark:rooms_read, spark:messages_write, spark:messages_read, spark:memberships_write, spark:memberships_read, spark:organizations_read, spark:recordings_read, spark:recordings_write, spark:calls_read, spark:webhooks_read, spark:webhooks_write
- Meeting scopes (12): meeting:schedules_write, meeting:schedules_read, meeting:preferences_write, meeting:preferences_read, meeting:participants_write, meeting:participants_read, meeting:transcripts_read, meeting:recordings_read, meeting:admin_config_read, meeting:admin_schedule_read, meeting:admin_recordings_read, meeting:admin_transcripts_read
- Admin scopes (22): spark-admin:people_read, spark-admin:people_write, spark-admin:organizations_read, spark-admin:licenses_read, spark-admin:roles_read, spark-admin:locations_write, spark-admin:locations_read, spark-admin:workspaces_write, spark-admin:workspaces_read, spark-admin:devices_read, spark-admin:devices_write, spark-admin:telephony_config_write, spark-admin:recordings_write, spark-admin:recordings_read, spark-admin:reports_write, spark-admin:reports_read, spark-admin:resource_groups_read, spark-admin:resource_group_memberships_write, spark-admin:resource_group_memberships_read, spark-admin:hybrid_clusters_read, spark-admin:hybrid_connectors_read, meeting:admin_participants_read
- Compliance and security scopes (3): spark-compliance:events_read, audit:events_read, analytics:read_all
- For basic usage: select only the user-level scopes (spark:*) for messaging and teams functionality.
- For admin features: admin scopes (spark-admin:*) require an appropriate administrator role in your Webex organization.
- Note: You may leave the Scopes field blank in StackOne to use the default set of all 54 scopes, or specify a custom space-separated list of only the scopes you need.
Create the integration
Scroll to the bottom of the form and click Add Integration to save it. The integration is not created until you click this button.
Copy your integration credentials
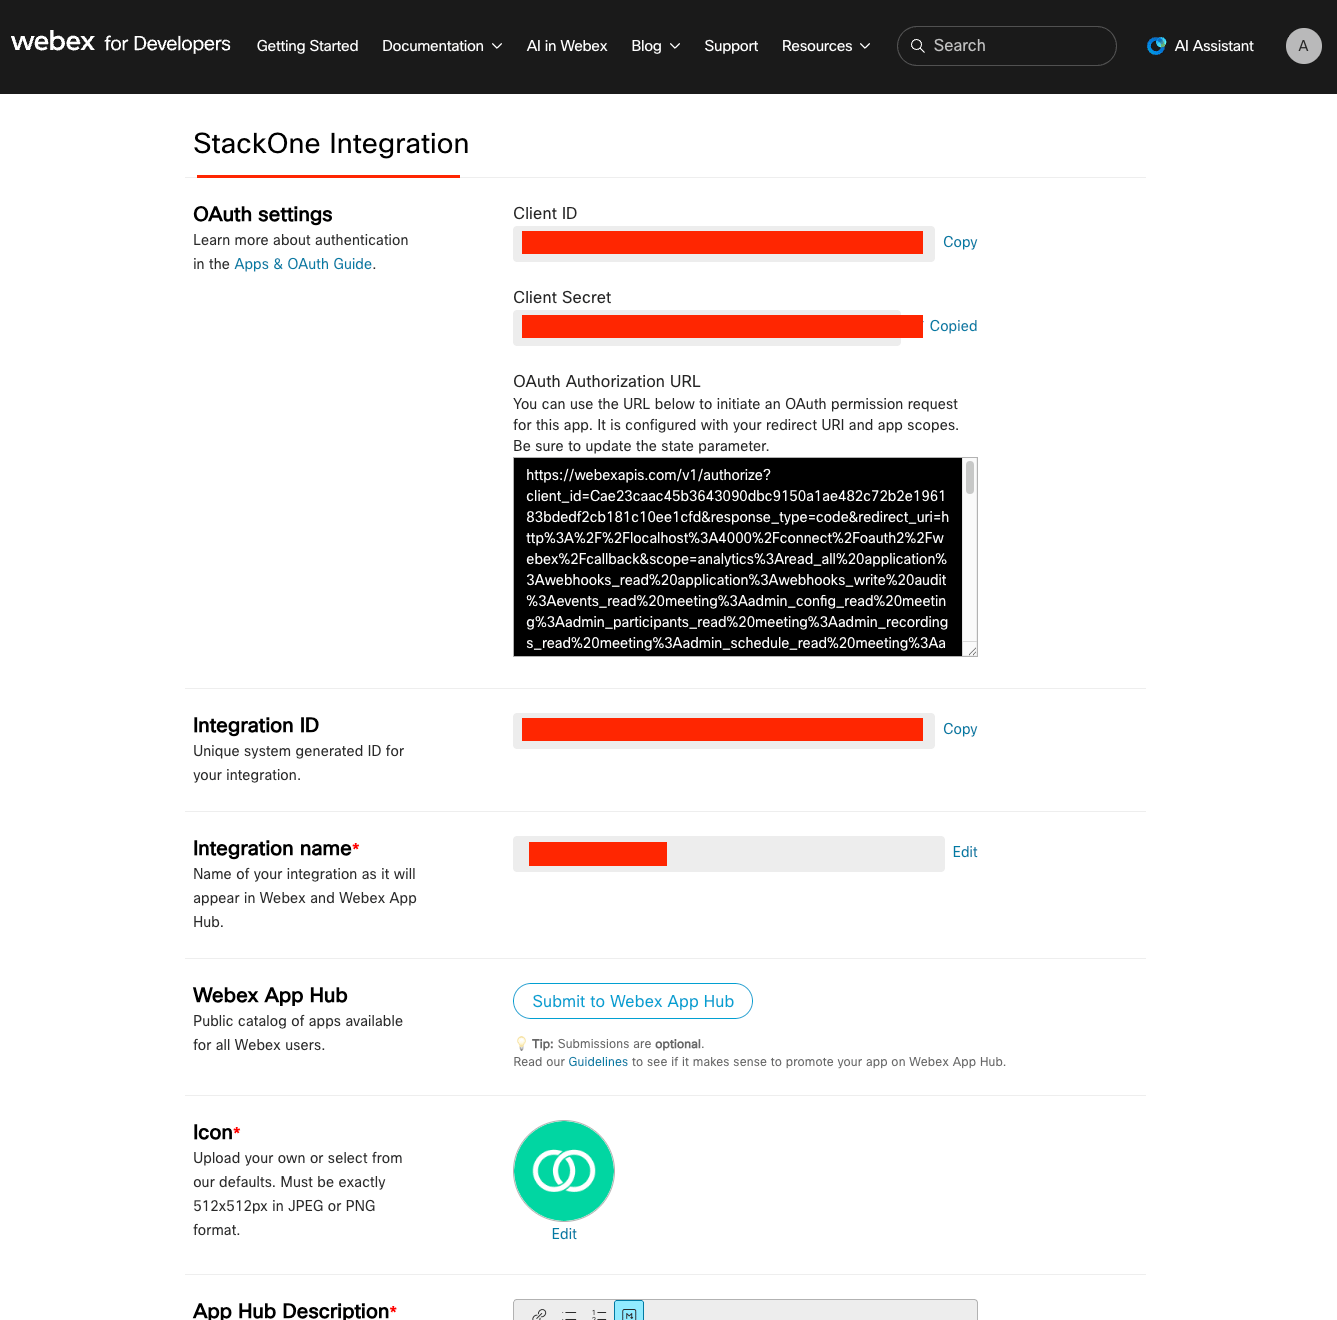
Once the integration is created, your credentials are displayed.
- Copy the Client ID — this remains visible whenever you view your integration.
- Copy the Client Secret — this is shown only once during creation. Store it securely.
- If you lose the Client Secret, you can regenerate it from the integration settings page.
Creating the StackOne Connector Profile
To create the Connector Profile in StackOne for Webex:Navigate to Connector Profiles
Create New Connector Profile
- Click + Connector Profile
- Search for and select Webex
- Select Type as OAuth 2.0 (Managed App)
- Fill out the fields using details retrieved from your provider:
- Client ID
- Client Secret
- OAuth Scopes (Optional)
- (Optional) Select Actions to be enabled for this Connector Profile
- Click Create profile