> ## Documentation Index
> Fetch the complete documentation index at: https://docs.stackone.com/llms.txt
> Use this file to discover all available pages before exploring further.
# Connect MCP from the Dashboard
> Generate MCP connection configs for any connector directly from the StackOne dashboard.
Every connector in your project has a built-in flow for generating MCP connection configs. Once an account is linked, you can get a ready-to-paste config for Claude Desktop, Claude Code, Cursor, VS Code, or any other MCP-compatible client in three clicks.
## Prerequisites
* A linked account for the connector you want to use. See [Embedding the StackOne Hub](/guides/embedding-stackone-hub) or [Auth Links](/guides/auth-link) to add one.
***
## How to get your MCP config
Go to **Connectors** in the left nav, then click any connector to open its detail page.
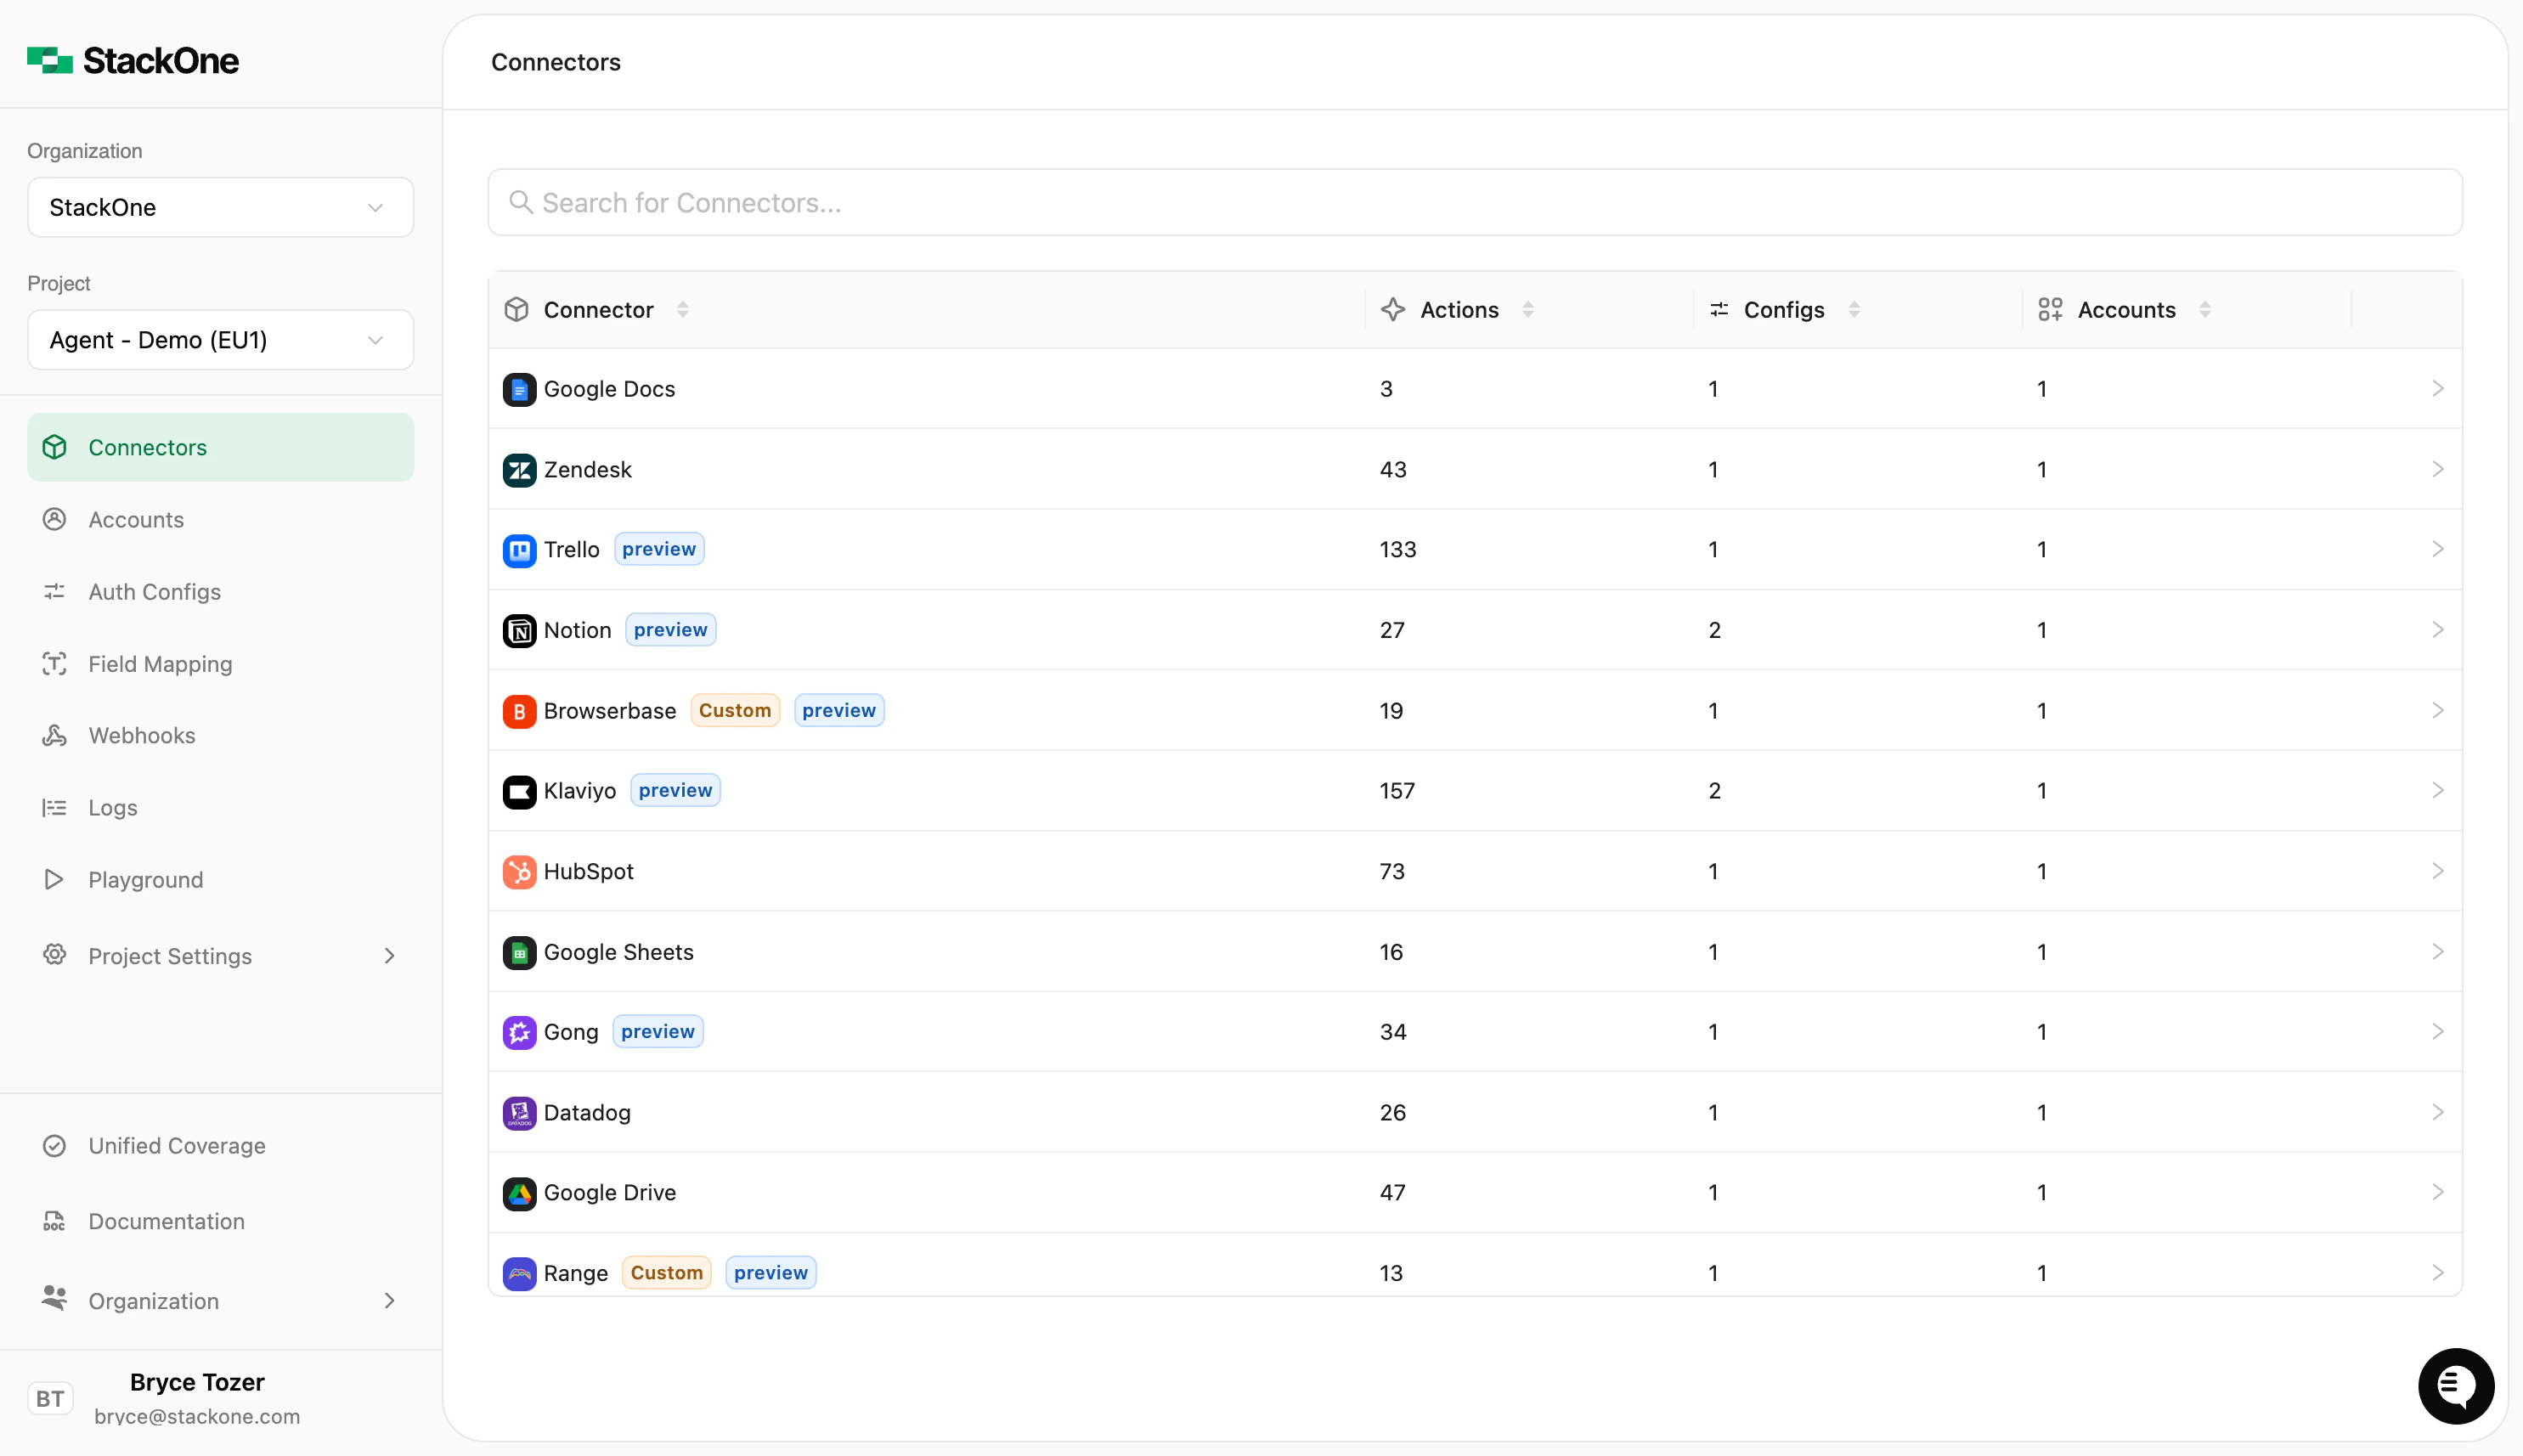 Click the **Use Connector** button in the top-right of the connector detail page. This opens the "Get Started with Connector" panel.
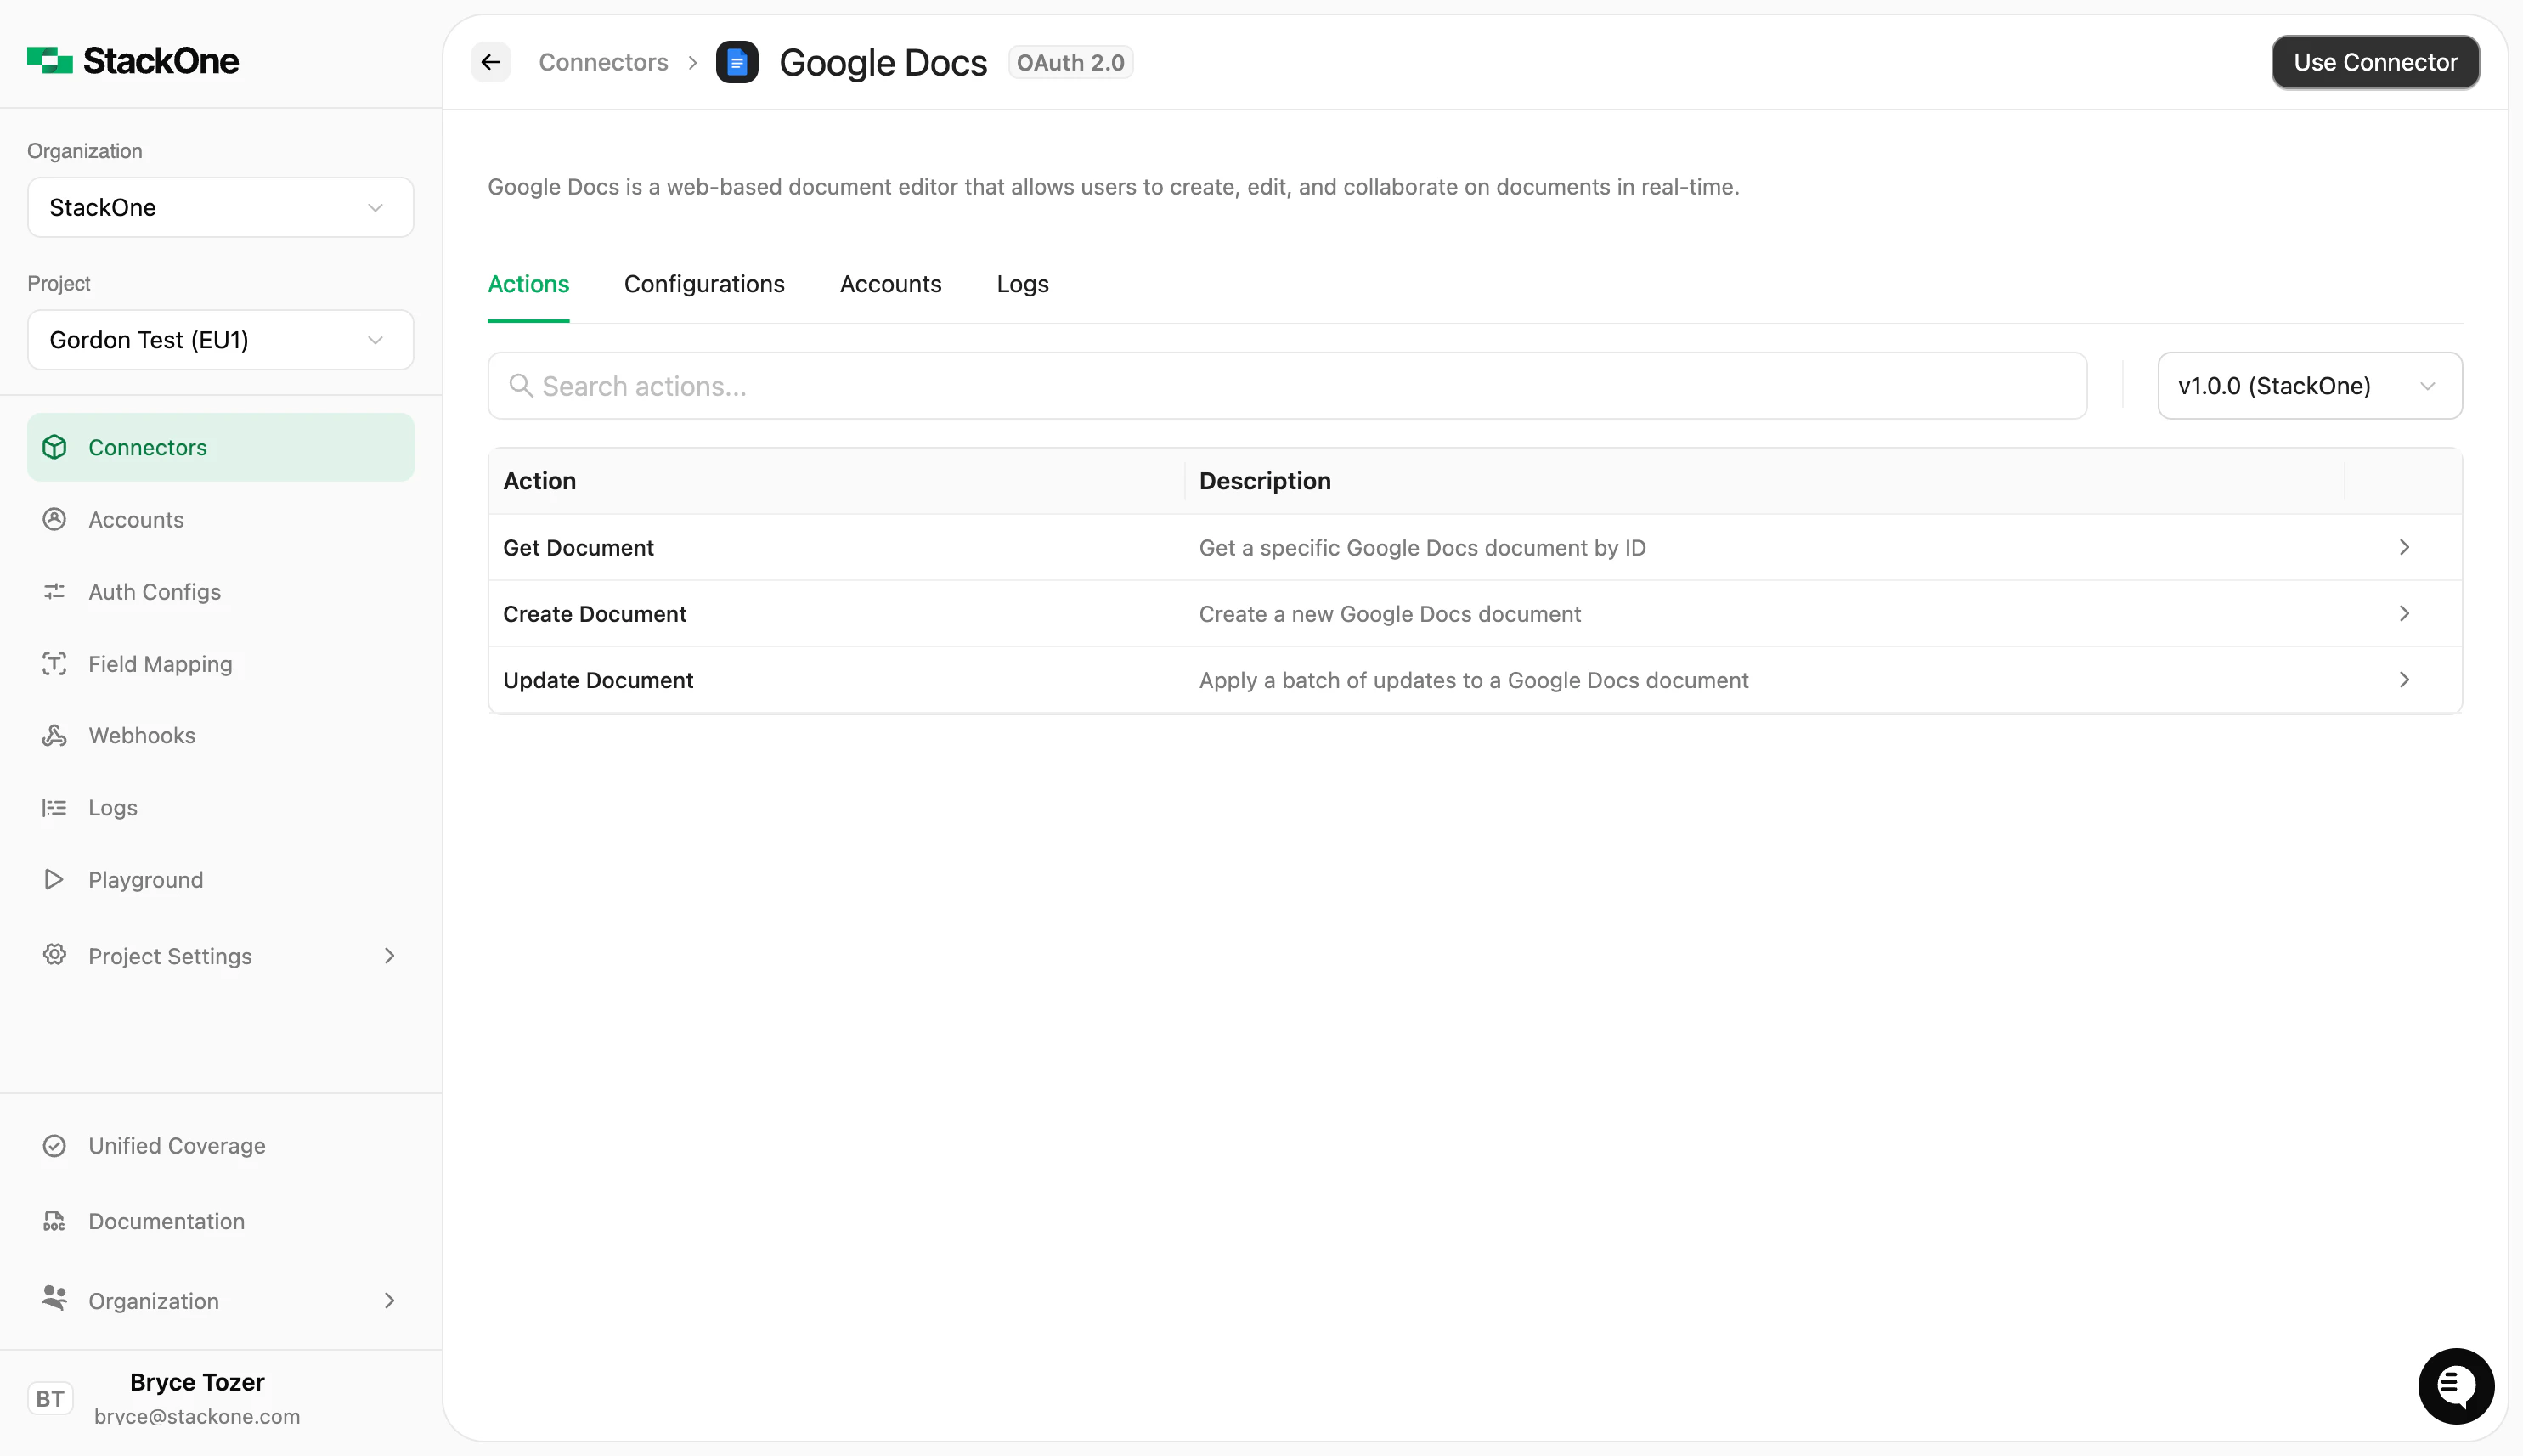 If the connector isn't configured yet, you'll see a setup wizard instead. Complete both steps — create a connector profile, then link an account — and the **Use** tab with the MCP tile will appear.
On the **Use** tab, click **MCP Server** under "Use with Agent Client" to expand the tile.
Select a linked account from the dropdown. StackOne generates a token for that account automatically.
If the connector isn't configured yet, you'll see a setup wizard instead. Complete both steps — create a connector profile, then link an account — and the **Use** tab with the MCP tile will appear.
On the **Use** tab, click **MCP Server** under "Use with Agent Client" to expand the tile.
Select a linked account from the dropdown. StackOne generates a token for that account automatically.
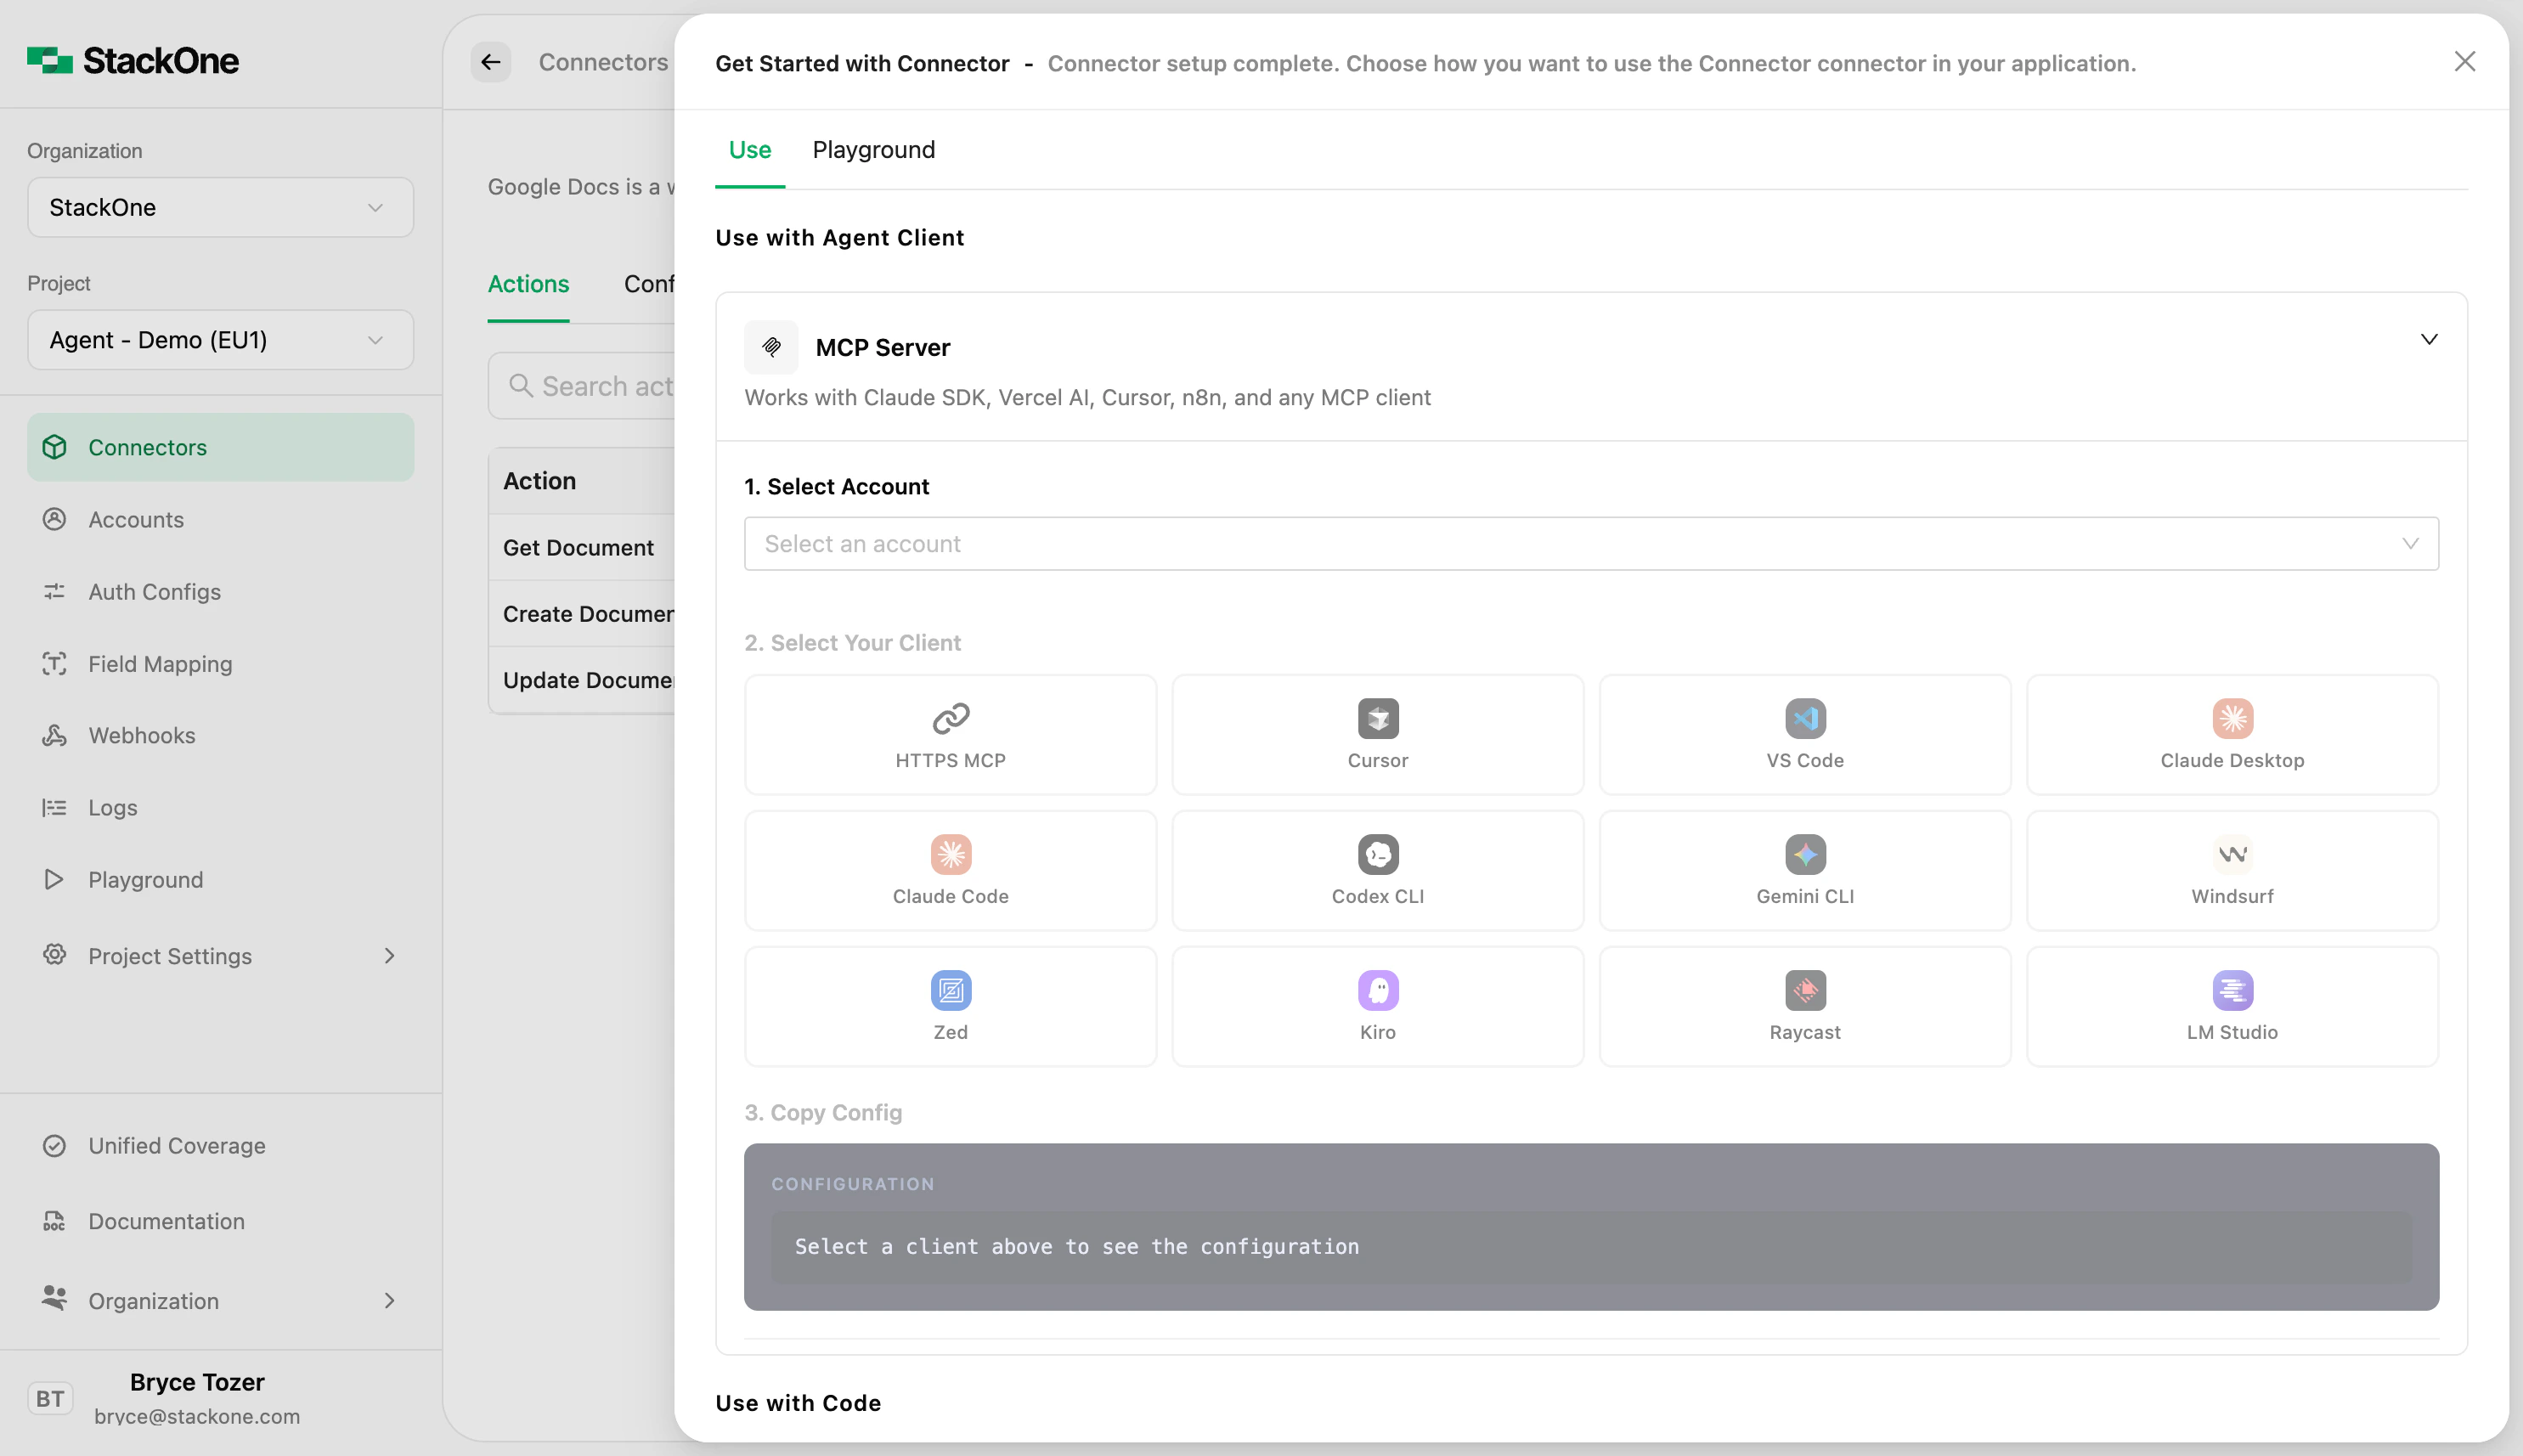 Pick the client you want to connect. Supported options:
| Client | Config format |
| -------------- | ------------------------------ |
| HTTPS MCP | Direct URL |
| Claude Desktop | JSON (`mcpServers` block) |
| Claude Code | CLI command (`claude mcp add`) |
| Cursor | URL + one-click deep link |
| VS Code | URL + one-click deep link |
| Codex CLI | CLI command |
| Gemini CLI | JSON (`mcpServers` block) |
| Windsurf | JSON (`mcpServers` block) |
| Zed | JSON (`context_servers` block) |
| Kiro | JSON (`mcpServers` block) |
| Raycast | URL |
| LM Studio | URL |
Pick the client you want to connect. Supported options:
| Client | Config format |
| -------------- | ------------------------------ |
| HTTPS MCP | Direct URL |
| Claude Desktop | JSON (`mcpServers` block) |
| Claude Code | CLI command (`claude mcp add`) |
| Cursor | URL + one-click deep link |
| VS Code | URL + one-click deep link |
| Codex CLI | CLI command |
| Gemini CLI | JSON (`mcpServers` block) |
| Windsurf | JSON (`mcpServers` block) |
| Zed | JSON (`context_servers` block) |
| Kiro | JSON (`mcpServers` block) |
| Raycast | URL |
| LM Studio | URL |
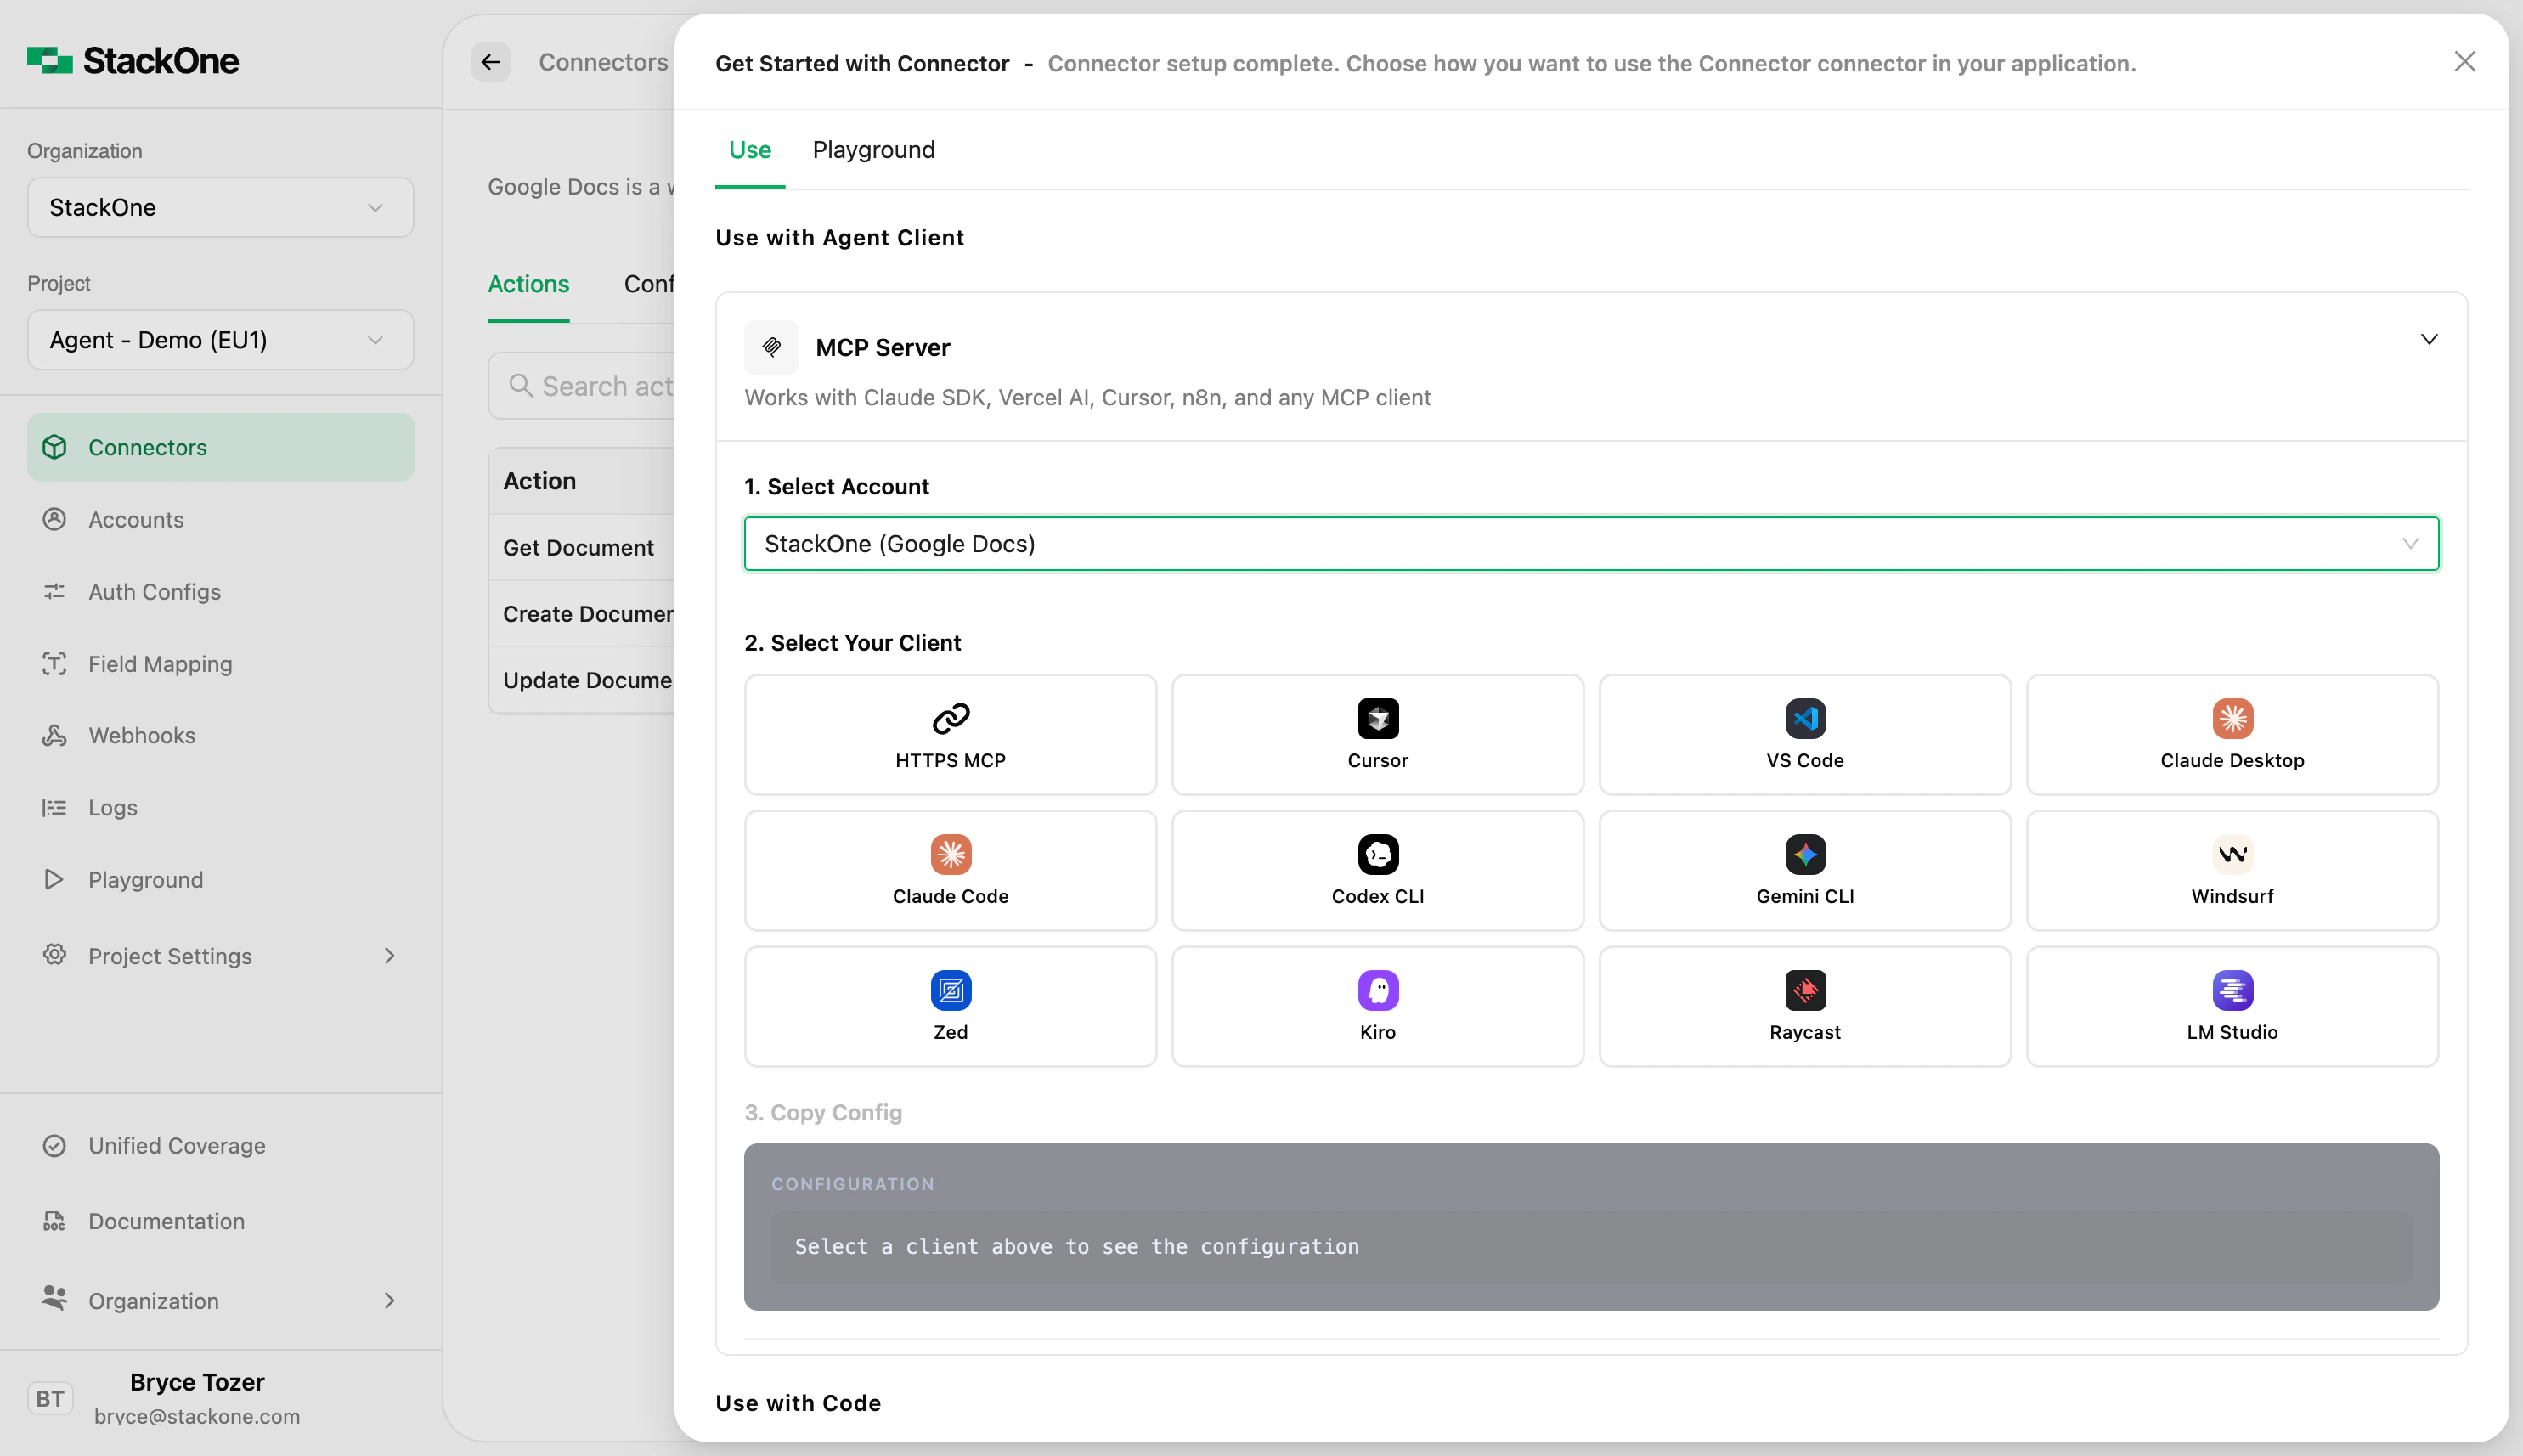 The panel shows the config in the right format for your client, with a copy button.
For clients that use a config file (Claude Desktop, Gemini CLI, etc.), the panel also shows the exact file path to paste it into.
For Cursor and VS Code, you can skip the copy step entirely and click **Add to Cursor** or **Add to VS Code** to install it directly via deep link.
The panel shows the config in the right format for your client, with a copy button.
For clients that use a config file (Claude Desktop, Gemini CLI, etc.), the panel also shows the exact file path to paste it into.
For Cursor and VS Code, you can skip the copy step entirely and click **Add to Cursor** or **Add to VS Code** to install it directly via deep link.
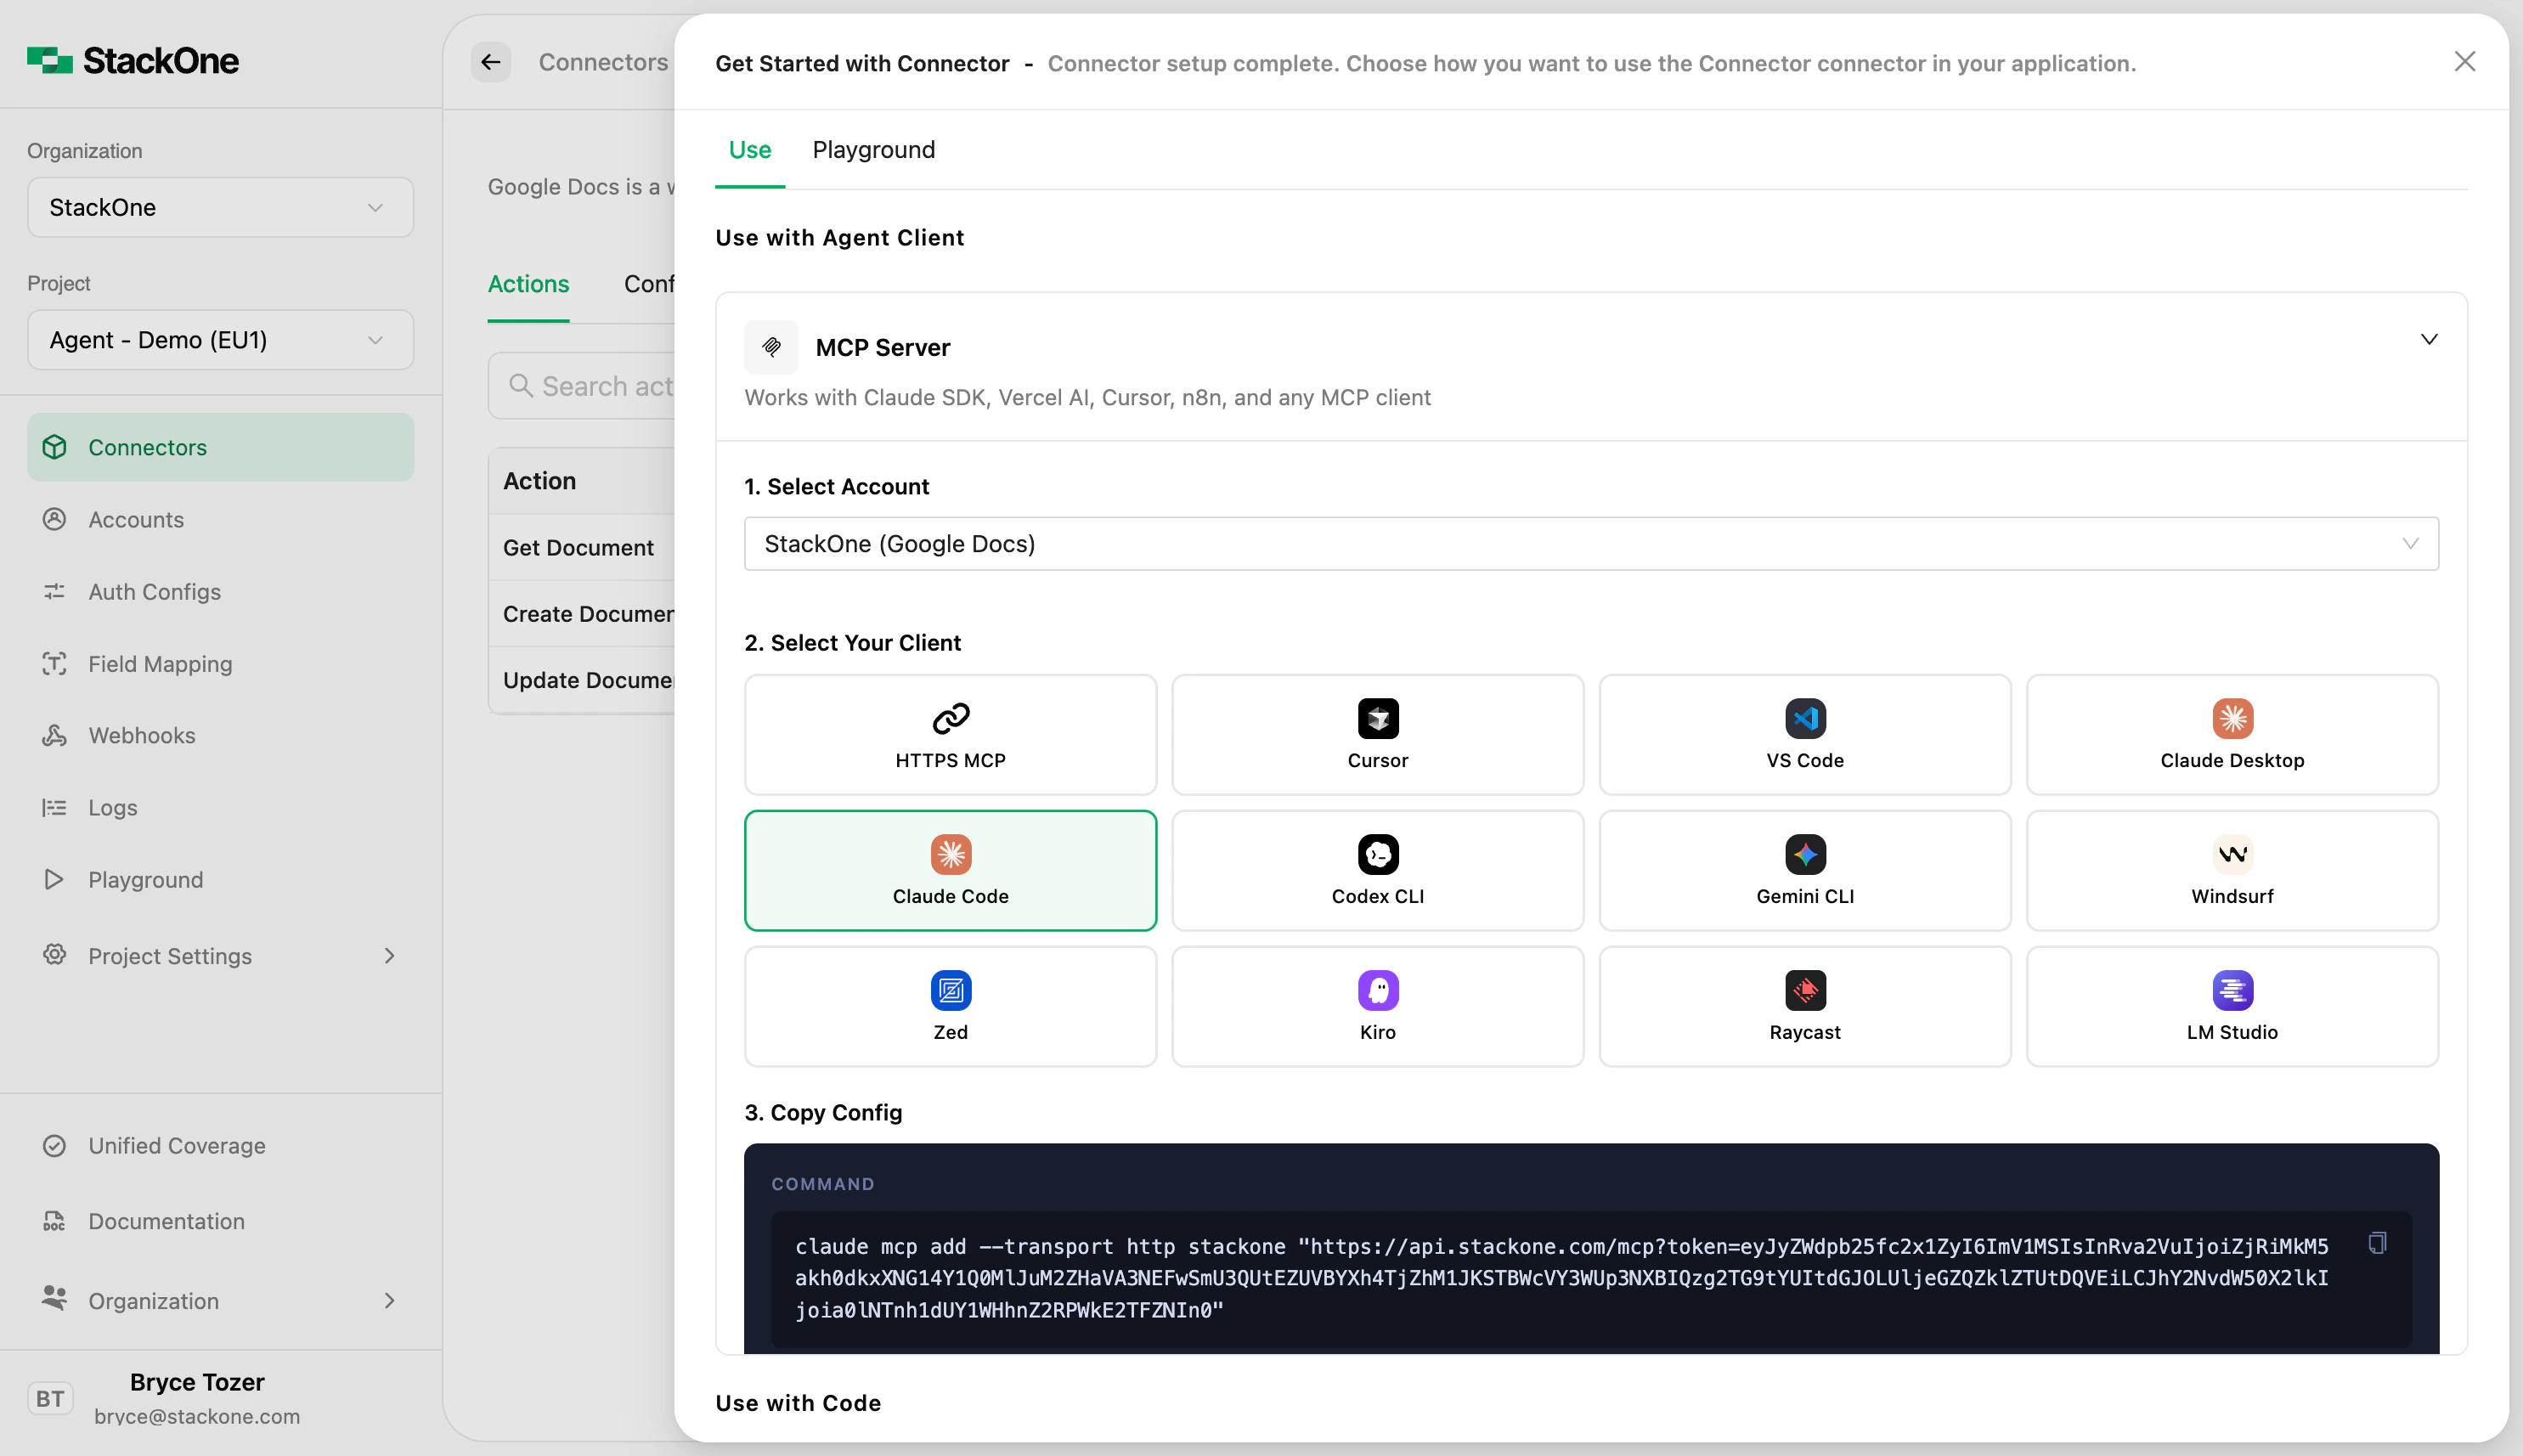 Paste the config into the specified file or terminal, then restart your client.
***
## What the MCP URL looks like
The generated URL follows this format:
```
https://api.stackone.com/mcp?token=
```
The token encodes the account identity and expires after one year. You can regenerate it at any time using the refresh button in the MCP tile.
The token-based URL is useful for quick setup and testing. For production deployments, use your API key and account ID directly. See [Authentication & Security](/mcp/auth-security) for details.
***
## Next steps
Full endpoint reference and authentication options
Token types, expiry, and production auth patterns
Paste the config into the specified file or terminal, then restart your client.
***
## What the MCP URL looks like
The generated URL follows this format:
```
https://api.stackone.com/mcp?token=
```
The token encodes the account identity and expires after one year. You can regenerate it at any time using the refresh button in the MCP tile.
The token-based URL is useful for quick setup and testing. For production deployments, use your API key and account ID directly. See [Authentication & Security](/mcp/auth-security) for details.
***
## Next steps
Full endpoint reference and authentication options
Token types, expiry, and production auth patterns