> ## Documentation Index
> Fetch the complete documentation index at: https://docs.stackone.com/llms.txt
> Use this file to discover all available pages before exploring further.
# Workday WQL
> Workday query language (WQL) usage guide for StackOne integrations
## Overview
Workday Query Language (WQL) is a powerful capability that lets users run complex queries against Workday data structures.
This guide introduces using WQL within StackOne integrations so you can retrieve and shape Workday data effectively through custom reports.
## Key Features of WQL
* **Data retrieval**: Extract specific data sources and their fields from Workday's extensive datasets.
* **Flexible querying**: Construct queries to filter, sort, and aggregate Workday data.
* **Nested data access**: Access and work with nested data structures in Workday.
### Example Query
Example WQL query to retrieve workers and selected attributes:
```sql theme={null}
SELECT workdayID as Workday_ID, employeeID as Employee_ID, legalName_Title as Title, legalFirstName as First_Name, legalLastName as Last_Name, legalNameInGeneralDisplayFormat as Display_Full_Name, email_PrimaryHome as Personal_Email, email_PrimaryWork as Work_Email, phone_PrimaryHome as Personal_Phone_Number FROM allWorkers
```
Creating a custom report is optional for generating WQL (Workday Query Language). However, there are several ways to obtain WQL:
* **Custom Report Feature**: By using the custom report feature, users can more accurately tailor the data they wish to extract from the data source and then convert the report to WQL.
* **Standard Reports**: You can utilize existing standard reports and convert them directly to WQL. To do this, navigate to **Convert Report to WQL** and select the `Standard Report`.
* **Data Source Navigation**: You can also navigate to the Data Source using global search and access a specific data source (e.g., All Workers) to view the available data source fields. From there, you can form a WQL query according to the WQL syntax.
## Create and View a Custom Report
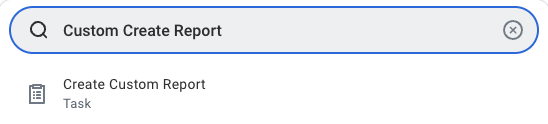
Search and navigate to the `Create Custom Report` task
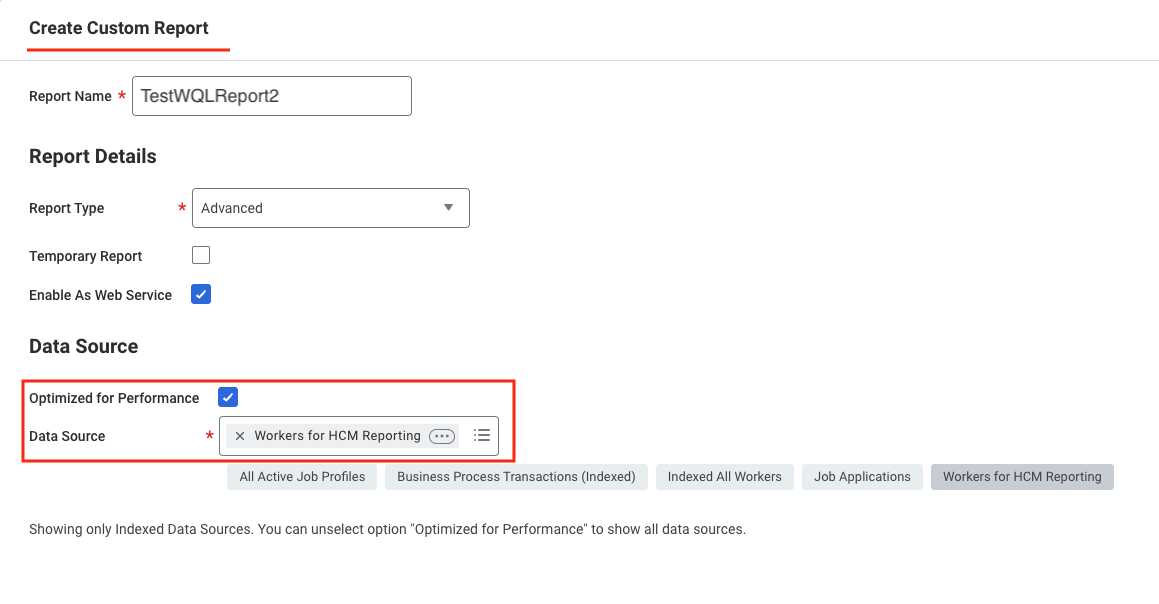
 Follow these steps to configure the custom report:
* **Report Name**: Must be unique within the tenant
* **Report Type**: Select **Advanced**
* **Optimised for Performance**: Tick this box to enhance performance
* **Data Source**: Choose the appropriate data source based on the data you need (e.g. Workers for HCM reporting).
Follow these steps to configure the custom report:
* **Report Name**: Must be unique within the tenant
* **Report Type**: Select **Advanced**
* **Optimised for Performance**: Tick this box to enhance performance
* **Data Source**: Choose the appropriate data source based on the data you need (e.g. Workers for HCM reporting).
 Click `OK` to continue.
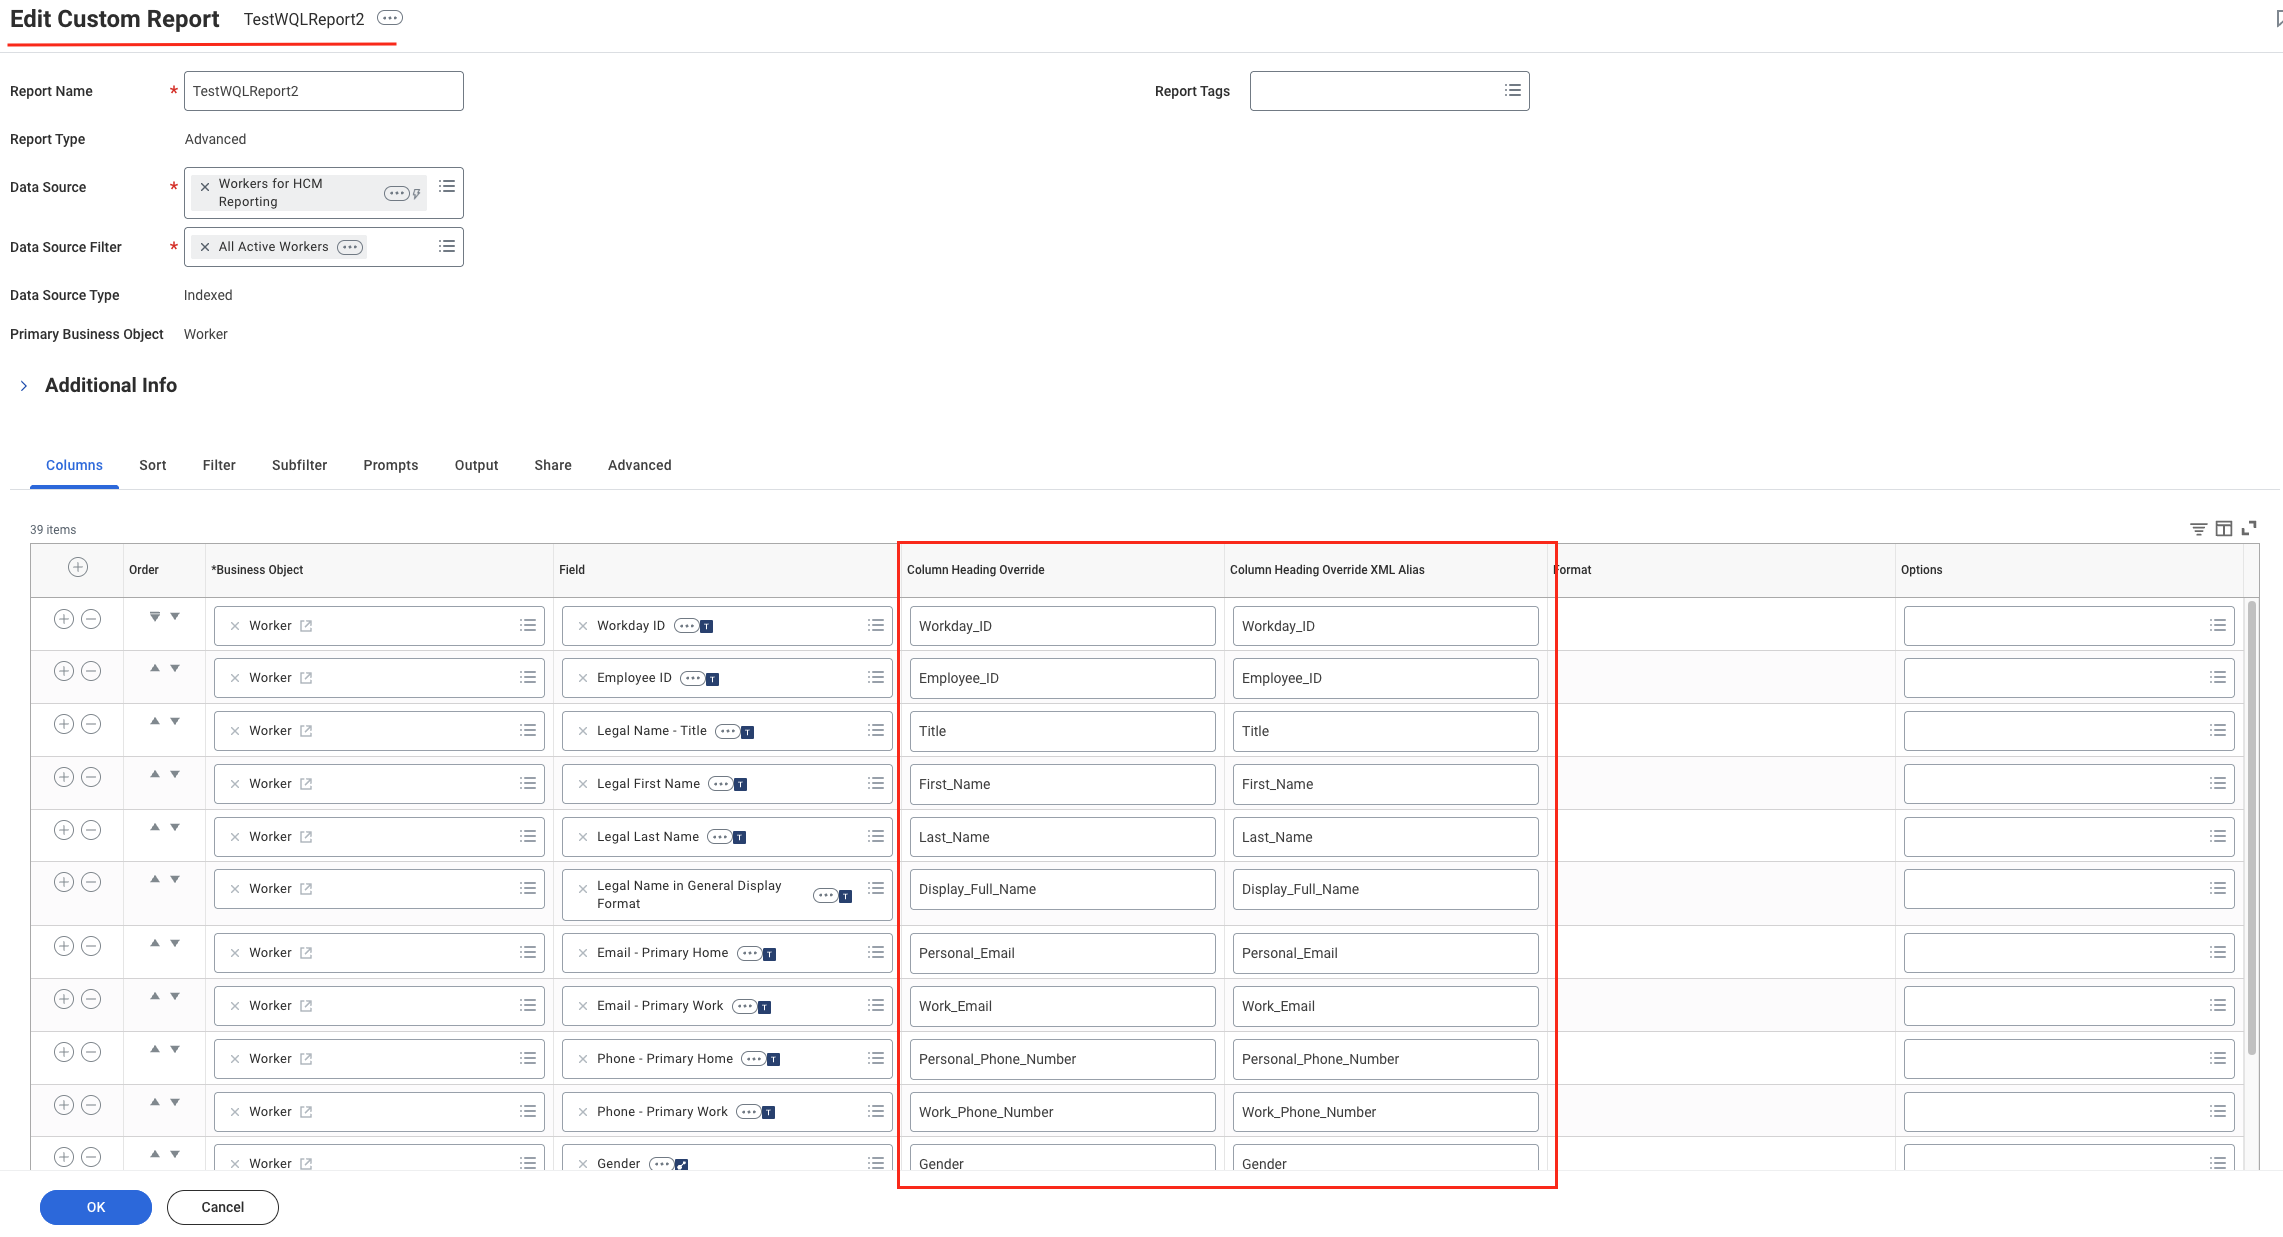
Add and configure report fields:
* Click the `+` icon to add a field.
* Select a Business Object (e.g. Worker) in the **Business Object** column.
* Choose the specific field (e.g. Employee ID) in the **Field** column.
* Set aliases in **Column Heading Override** to ensure stable field names in API responses.
The **Column Heading Override XML Alias** column will appear only after you enable **Enable As Web Service** under the Advanced tab and save the report. You can view this column when you return to edit the report.
Add the following **field aliases** in your report. The aliases serve as stable identifiers for the API responses but the underlying fields must be properly configured.
* Workday\_ID
* Employee\_ID
* Title
* First\_Name
* Last\_Name
* Display\_Full\_Name
* Personal\_Email
* Work\_Email
* Personal\_Phone\_Number
* Work\_Phone\_Number
* Gender
* Ethnicity
* Date\_Of\_Birth
* Marital\_Status
* Job\_Title
* Company
* Hire\_Date
* Original\_Hire\_Date
* Employment\_Status
* Location
* Employment\_Type
* Manager
* Cost\_Centers
* National\_Identifier\_Numbers
* Termination\_Date
* Home\_Address
* Home\_Address\_Country
* Home\_Address\_Postal\_Code
* Home\_Address\_State
* Home\_Address\_City
* Work\_Address
* Work\_Address\_Country
* Citizenships
* Job\_Code
* Effective\_Date
* Grade
* Benefits
* Skills
Click `OK` to continue.
Add and configure report fields:
* Click the `+` icon to add a field.
* Select a Business Object (e.g. Worker) in the **Business Object** column.
* Choose the specific field (e.g. Employee ID) in the **Field** column.
* Set aliases in **Column Heading Override** to ensure stable field names in API responses.
The **Column Heading Override XML Alias** column will appear only after you enable **Enable As Web Service** under the Advanced tab and save the report. You can view this column when you return to edit the report.
Add the following **field aliases** in your report. The aliases serve as stable identifiers for the API responses but the underlying fields must be properly configured.
* Workday\_ID
* Employee\_ID
* Title
* First\_Name
* Last\_Name
* Display\_Full\_Name
* Personal\_Email
* Work\_Email
* Personal\_Phone\_Number
* Work\_Phone\_Number
* Gender
* Ethnicity
* Date\_Of\_Birth
* Marital\_Status
* Job\_Title
* Company
* Hire\_Date
* Original\_Hire\_Date
* Employment\_Status
* Location
* Employment\_Type
* Manager
* Cost\_Centers
* National\_Identifier\_Numbers
* Termination\_Date
* Home\_Address
* Home\_Address\_Country
* Home\_Address\_Postal\_Code
* Home\_Address\_State
* Home\_Address\_City
* Work\_Address
* Work\_Address\_Country
* Citizenships
* Job\_Code
* Effective\_Date
* Grade
* Benefits
* Skills
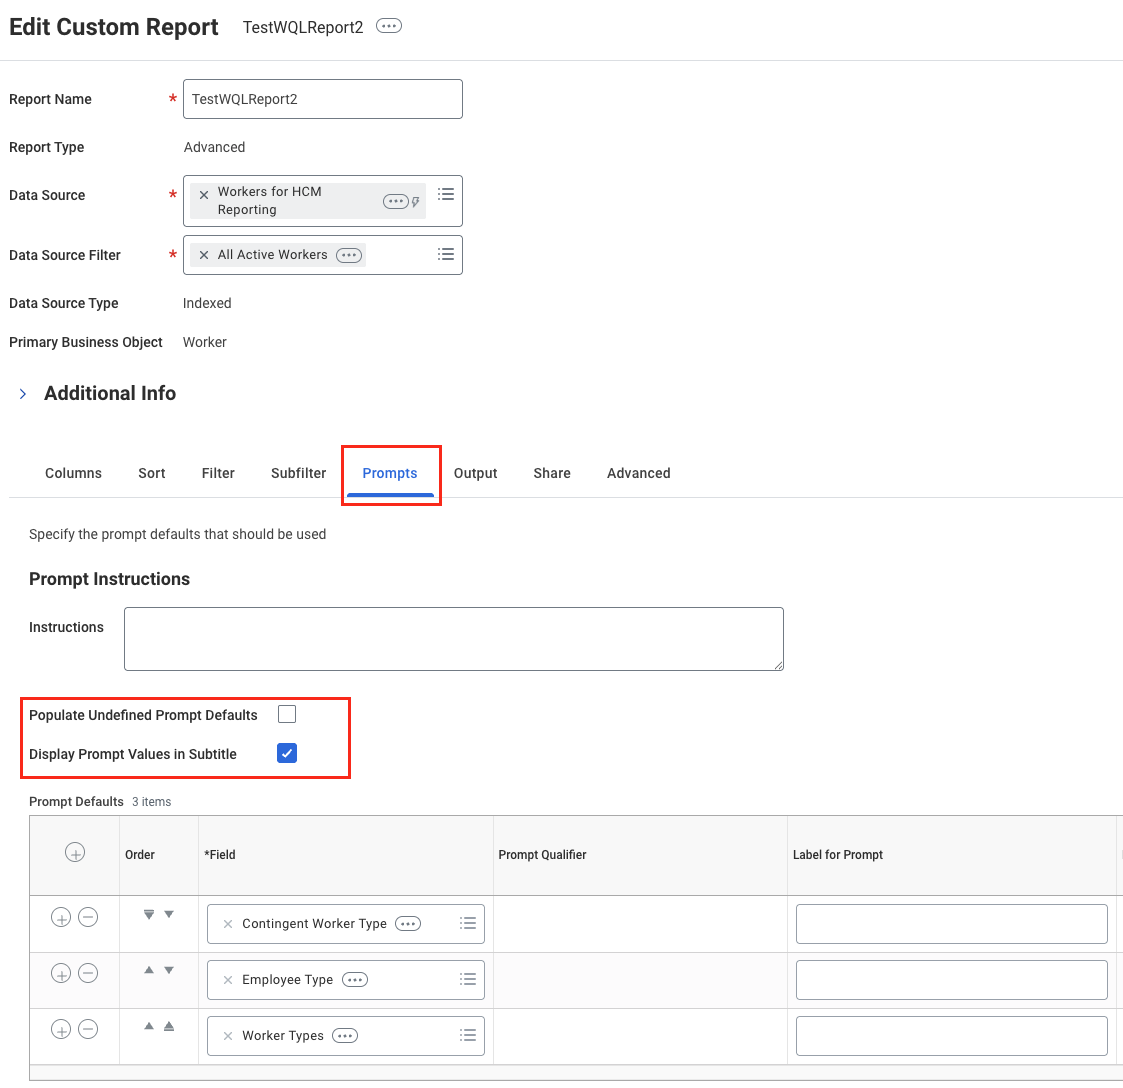
 * Tick **Populate Undefined Prompt Defaults** to make prompt default fields visible in the report table. Once the `Prompt Defaults` grid is visible, the ticked **Populate Undefined Prompt Defaults** field will be unticked again.
* Tick **Display Prompt Values in Subtitle** to enable prompt display.
* Tick **Populate Undefined Prompt Defaults** to make prompt default fields visible in the report table. Once the `Prompt Defaults` grid is visible, the ticked **Populate Undefined Prompt Defaults** field will be unticked again.
* Tick **Display Prompt Values in Subtitle** to enable prompt display.
 Click `OK` to save the report.
Search for `View Custom Report`.
Click `OK` to save the report.
Search for `View Custom Report`.
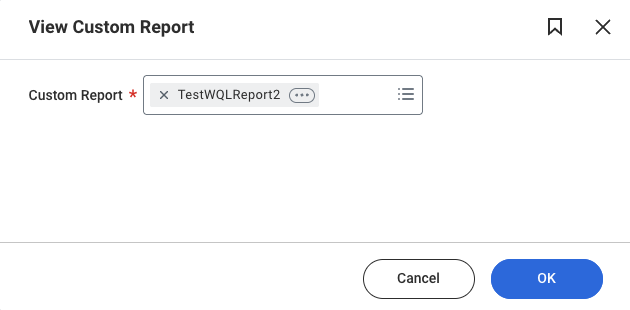
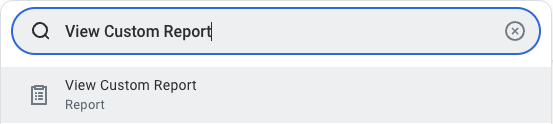 select the report you just created, and then click `OK` to open it.
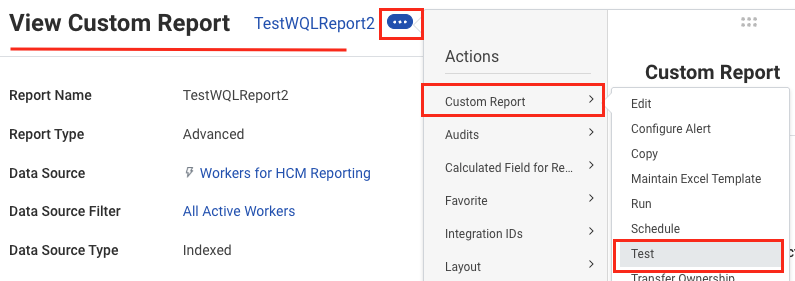
 Navigate to `Test` under the `Custom Report` menu via the 3-dot menu.
 Click `OK` to test it.
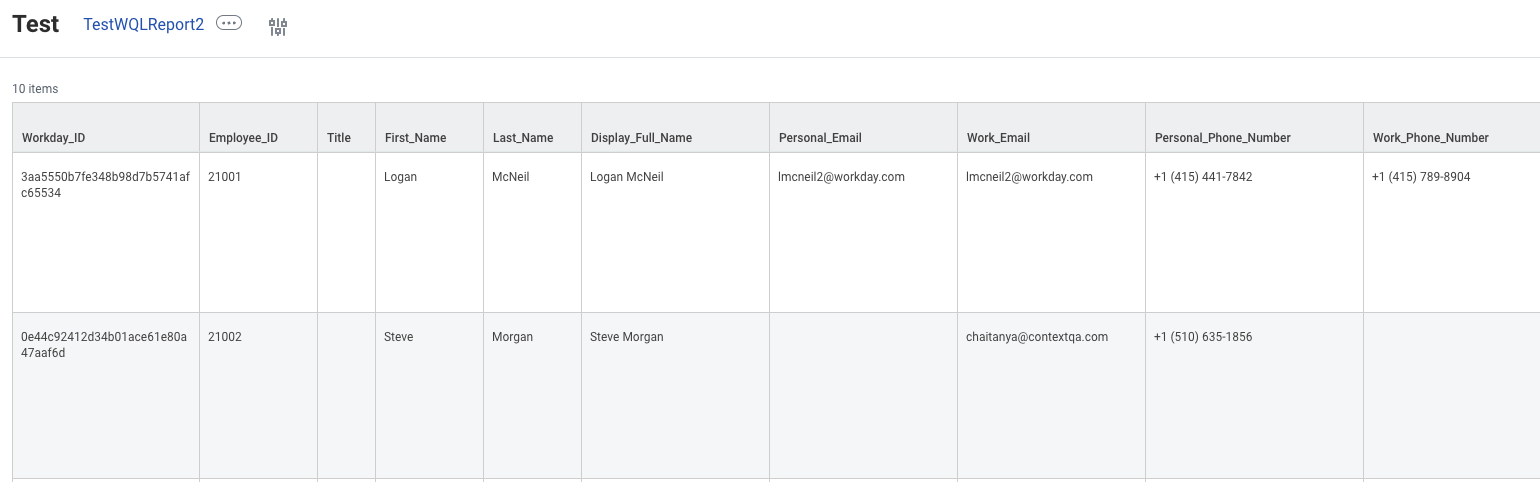
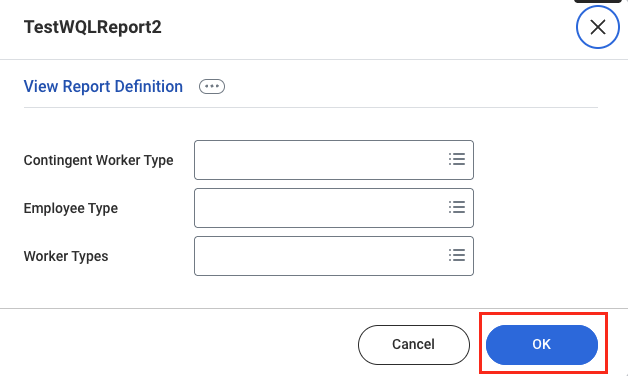 You will get some sample data based on the fields you configured in the custom report.
 ## Convert the Report to WQL in Workday
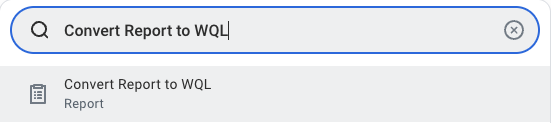
Use the global search bar to search for "Convert Reports to WQL".
## Convert the Report to WQL in Workday
Use the global search bar to search for "Convert Reports to WQL".
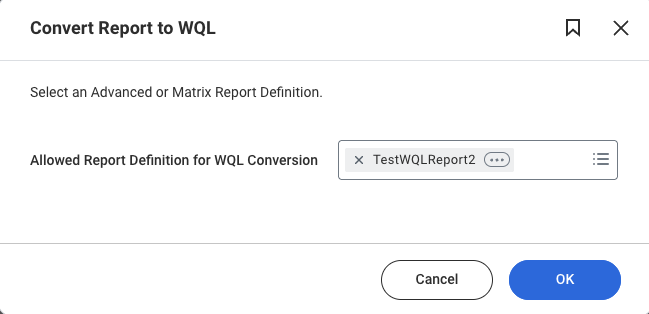
 Select the custom report you created earlier in the [Create and View a Custom Report](#create-and-view-a-custom-report) step.
 Click `OK`.
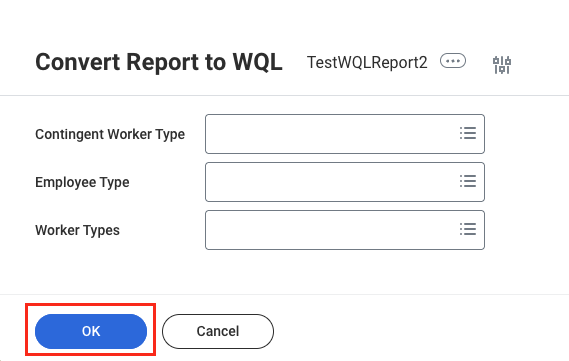 You are taken to a page showing the generated WQL query for your custom report.
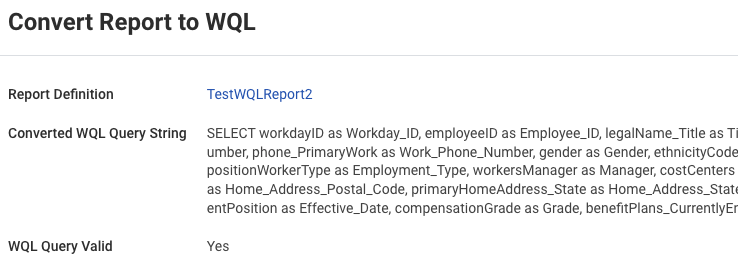 Copy this WQL query and paste it into the `Employee WQL Query` field when connecting through the StackOne Connector Hub.
WQL does not support calculated fields when converting custom reports to WQL.
## StackOne Configuration
To enable Workday WQL in StackOne, go to the HRIS category on the *Integrations* page and enable Workday WQL.
Copy this WQL query and paste it into the `Employee WQL Query` field when connecting through the StackOne Connector Hub.
WQL does not support calculated fields when converting custom reports to WQL.
## StackOne Configuration
To enable Workday WQL in StackOne, go to the HRIS category on the *Integrations* page and enable Workday WQL.
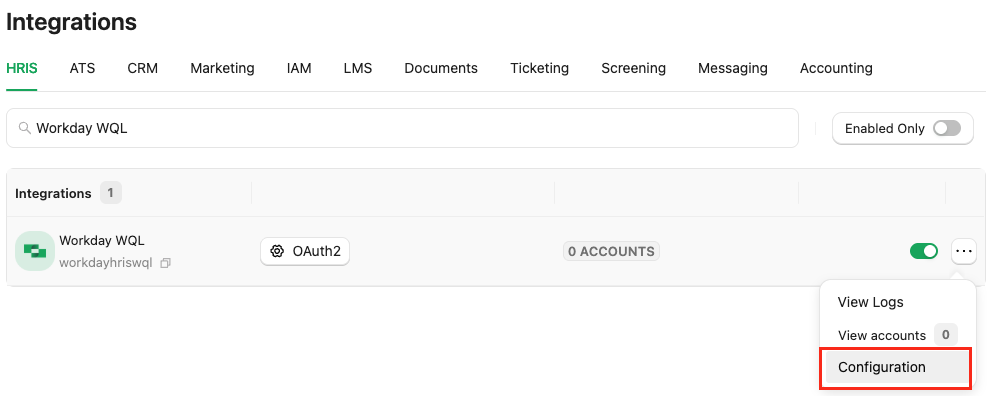 Select `OAuth2` as the authentication type.
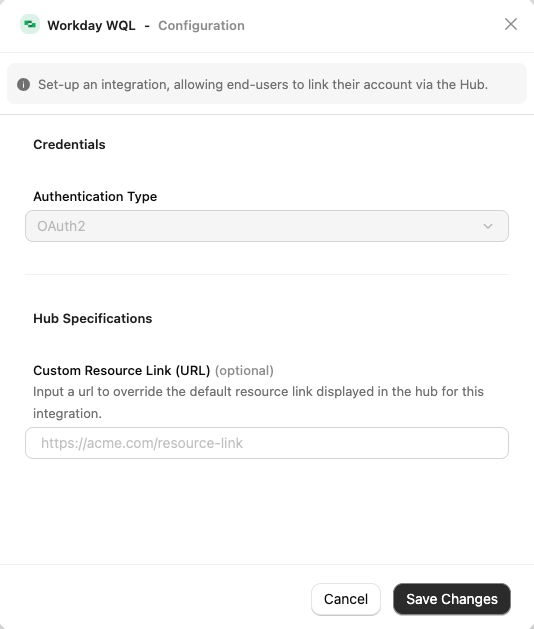 Click `Confirm` or `Save Changes` to enable the Workday integration, allowing users to link their accounts via the StackOne Connector Hub.
## ATS User Enablement
Users connect their Workday accounts through the StackOne Connector Hub by providing the WQL query generated in their Workday account.
Click `Confirm` or `Save Changes` to enable the Workday integration, allowing users to link their accounts via the StackOne Connector Hub.
## ATS User Enablement
Users connect their Workday accounts through the StackOne Connector Hub by providing the WQL query generated in their Workday account.
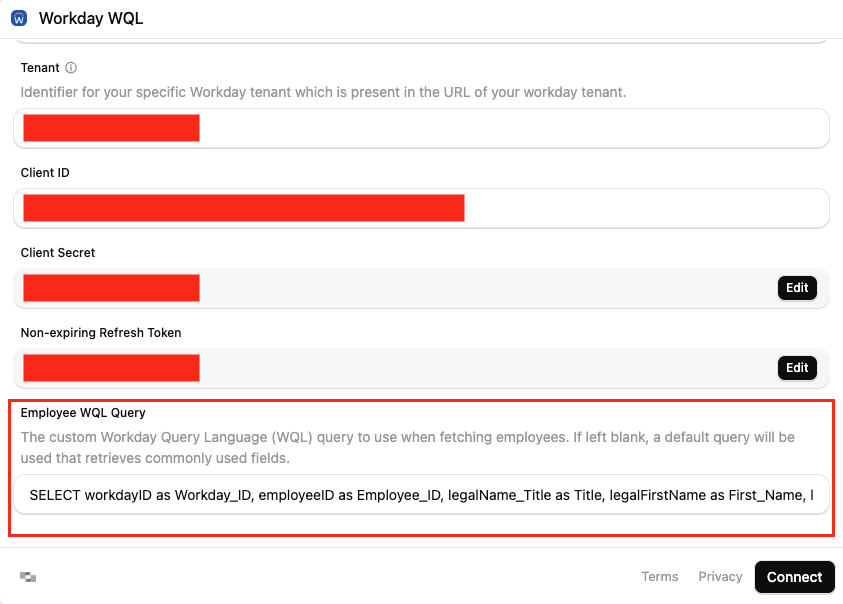 Users will receive data based on the WQL query provided during the connection setup when they request a [list of employees](https://docs.stackone.com/hris/api-reference/employees/list-employees) using the Unified APIs.
## Limitations of WQL
* **Calculated fields**: WQL does not support calculated fields when converting custom reports to WQL.
Users will receive data based on the WQL query provided during the connection setup when they request a [list of employees](https://docs.stackone.com/hris/api-reference/employees/list-employees) using the Unified APIs.
## Limitations of WQL
* **Calculated fields**: WQL does not support calculated fields when converting custom reports to WQL.